How to Grow Garlic: Plant in Fall, Harvest in July
Garlic is the easiest crop in the garden if you plant it at the right time. Here is the full cycle — choosing bulbs, planting depth, mulch, scapes, and harvest.
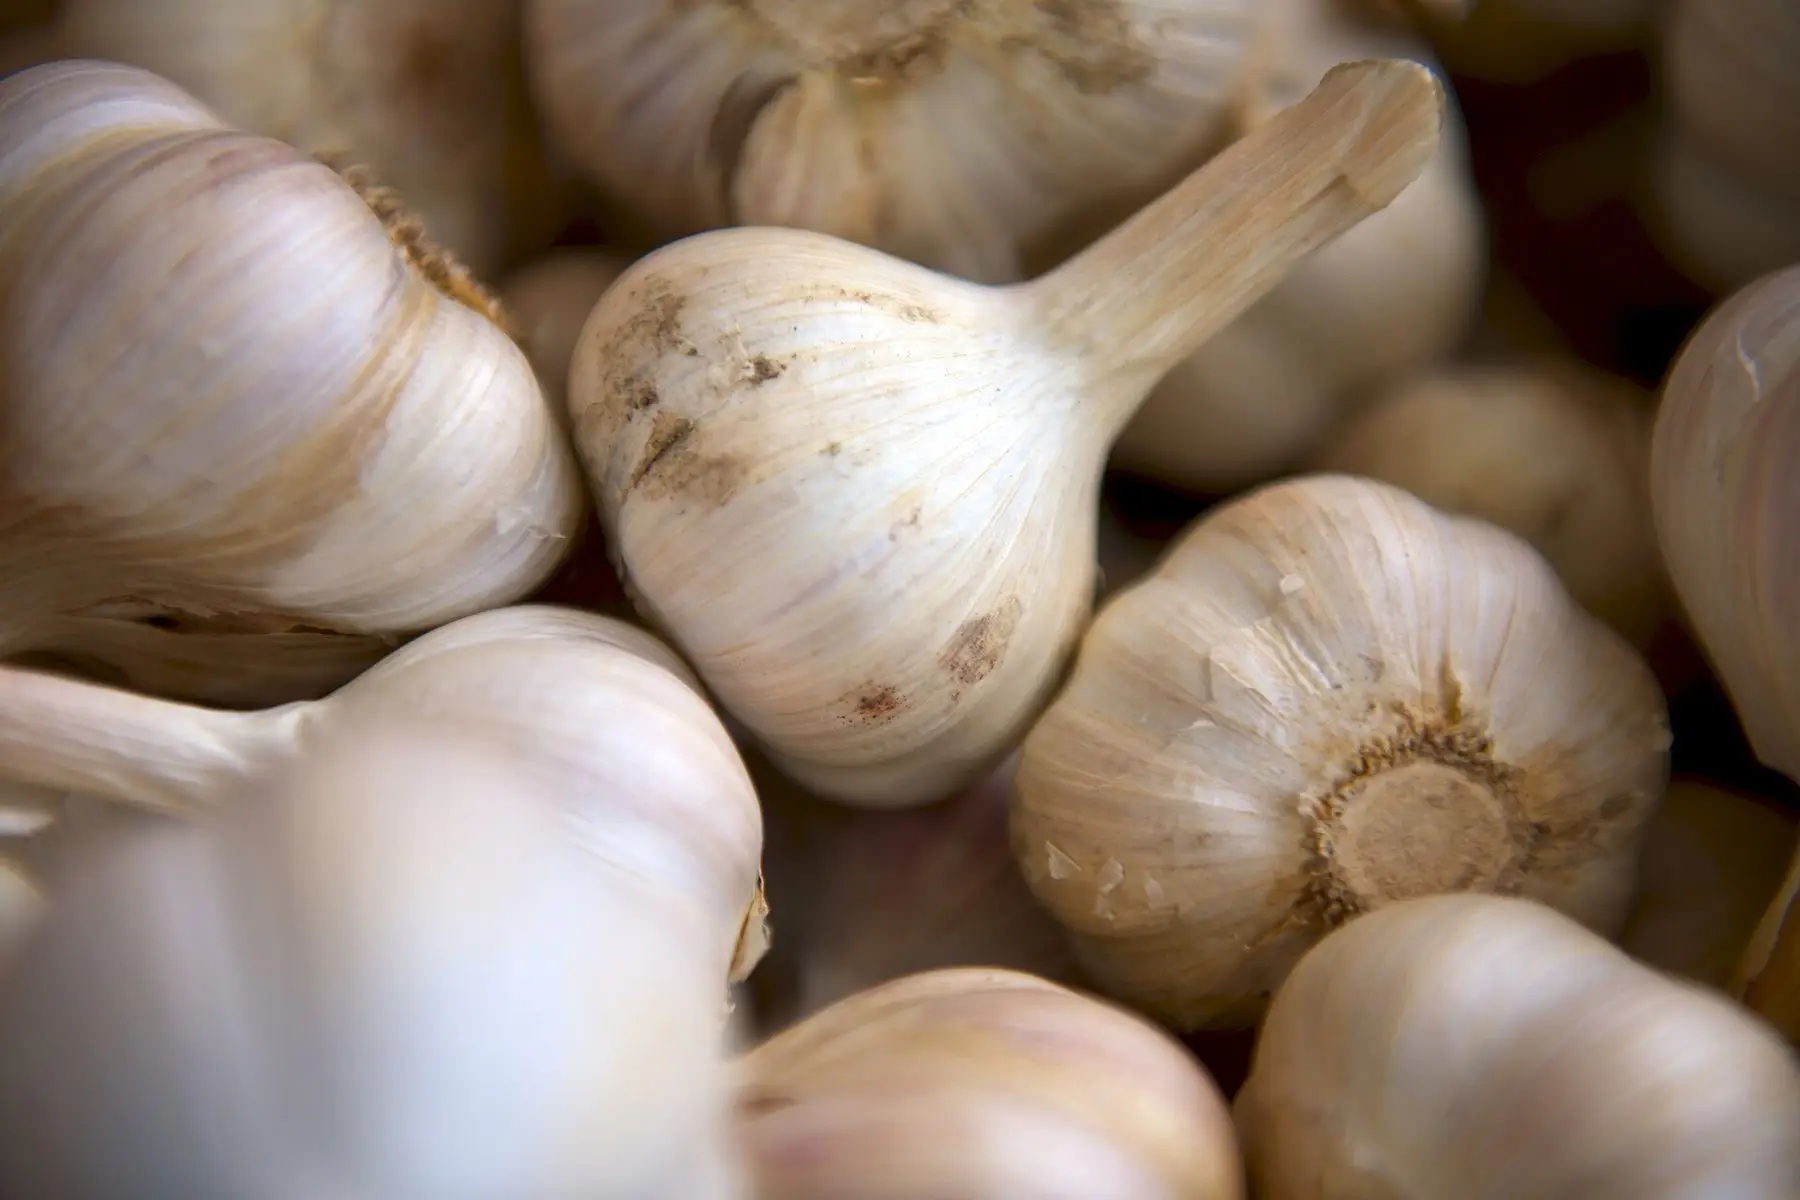
.jpg)
On this page
Garlic is the crop that rewards you for doing almost nothing. You plant it in October, forget about it through winter, cut one stalk in June, and dig up a year’s supply in July. The only thing it will not forgive is planting at the wrong time.
Hardneck or softneck?
This is the only decision that really matters, and it is decided by your winter.
Hardneck varieties (Rocambole, Porcelain, Purple Stripe) need a genuine cold period. They produce a stiff central stalk, fewer but larger cloves, much better flavour, and edible scapes in June. They keep 4–6 months.
Softneck varieties (Artichoke, Silverskin) are what supermarkets sell. They tolerate mild winters, produce more, smaller cloves per bulb, store up to 9 months, and have flexible necks you can braid.
Not sure which?
If your ground freezes solid most winters, plant hardneck. If it rarely freezes, plant softneck. If you are between the two, plant a few of each in the same bed the first year and keep whichever performs — garlic is cheap to trial and the answer is local.
When to plant, by zone
Garlic wants to grow roots before winter and no more than an inch or two of top growth. That means planting 4–6 weeks ahead of your first hard freeze.
| Zone | Plant | Harvest | Notes |
|---|---|---|---|
| 3–4 | Late Sept – mid Oct | Late July – Aug | Mulch 6 in; hardneck only |
| 5–6 | Mid Oct – early Nov | July | The classic window; either type |
| 7 | Late Oct – late Nov | Late June – July | Either type |
| 8–9 | Nov – early Dec | June | Pre-chill bulbs 6 weeks in the fridge |
| 10+ | Dec – Jan | May – June | Softneck; pre-chill essential |
Preparing the bed
Garlic is in the ground for three seasons, so the bed is worth doing properly once.
Pick the sunniest spot you have — six hours minimum. Garlic will not tolerate wet feet, so if your soil is heavy clay, plant into a raised bed or a mound. Fork in 2–3 inches of compost or aged manure and rake it level. Do not plant garlic where onions, leeks, or garlic grew in the last three years; white rot builds up in the soil and it is effectively permanent once established.
Do not skip the mulch
The most common way to lose a fall-planted crop is frost heave: repeated freezing and thawing pushes cloves up out of the soil, where they dry out and die. Four inches of straw or shredded leaves keeps the soil temperature steady and prevents it entirely.
Through the winter and spring
Nothing needs doing until the shoots appear. Some varieties push green tips up before the first snow; that is normal and the tips will survive being frozen.
Once shoots are about 6 inches tall in spring, pull the mulch back slightly and feed with something nitrogen-rich — blood meal, feather meal, or a balanced organic fertiliser. Garlic builds its leaves in spring, and every leaf is a wrapper on the finished bulb, so this is the feed that decides your bulb size.
Water an inch a week if rain does not deliver it, and keep the bed weed-free. Garlic has thin, upright leaves that cast almost no shade, so it loses to weeds badly.
Then stop. Two to three weeks before you expect to harvest, cut off water entirely. Wet soil at the end produces stained wrappers and bulbs that rot in storage.
Harvest and curing
Watch the leaves, not the calendar. When the bottom three or four leaves have browned and five or six remain green, it is time. Wait longer and the wrappers split, exposing the cloves and ruining storage life; lift too early and the bulbs are small and never cure properly.
Loosen the soil with a fork several inches away from the plant, then lift the whole thing by hand. Never pull by the stem — you will separate it from the bulb and the plant will not cure.
Do not wash them. Brush the loose soil off, leave the roots and stems on, and hang or lay the whole plants somewhere dry, shaded, and well-ventilated for two to four weeks. They are cured when the neck is dry and papery all the way through. Then trim the roots close, cut the stems to an inch (or braid softnecks), and store somewhere dark at 55–65°F.
Save your own seed
Set aside your biggest bulbs for replanting in the fall. Garlic adapts to local conditions over successive generations, and after three or four years of saving your own you will be growing a strain suited to your specific soil and winter.
Step by step
- Time
- P250D
- Cost
- $12
- You need
- Seed garlic (hardneck or softneck), Compost or aged manure, Straw or shredded leaf mulch
- Tools
- Trowel or dibber, Garden fork
Buy seed garlic, not supermarket garlic
Order certified seed garlic from a nursery or seed company. Supermarket bulbs are often treated to stop them sprouting and may carry disease. Pick hardneck if your winters drop below freezing, softneck if they do not.
Plant 4–6 weeks before the ground freezes
In most of the US that means mid-October to late November. The clove needs to root before winter but must not push up much top growth. In zones 8 and warmer, chill the bulbs in the fridge for 6 weeks first, then plant in late fall.
Split the bulb at the last minute
Break the bulb into individual cloves the day you plant. Cloves separated weeks early dry out at the base plate and root poorly. Plant the biggest cloves and cook the small ones.
Plant pointy end up, 2 inches deep
Set each clove with the flat root plate down and the tip 2 inches below the surface, 6 inches apart, in rows 12 inches apart. Upside-down cloves still grow, but they produce a bent, undersized bulb.
Mulch 4 inches deep
Cover the bed with straw or shredded leaves once the ground has cooled. Mulch stops the freeze-thaw cycle heaving cloves out of the soil, and smothers the spring weeds that would otherwise out-compete a slow-starting crop.
Feed in early spring, then stop watering in June
When shoots are 6 inches tall, feed with a nitrogen-rich fertiliser. Water an inch a week through spring, then stop entirely 2–3 weeks before harvest so the wrappers dry and the bulb stores well.
Cut the scapes on hardneck garlic
In June, hardneck varieties send up a curling flower stalk. Cut it once it has made a full loop — leaving it on costs you noticeably smaller bulbs. The scapes are excellent food; do not compost them.
Harvest when the lower leaves brown
Lift when the bottom 3–4 leaves have gone brown but 5 or 6 green ones remain, usually July. Loosen with a fork rather than pulling by the stem. Every green leaf is one intact wrapper around the bulb.
Cure for 2–4 weeks before storing
Hang or lay the whole plants somewhere dry, shaded, and airy for 2–4 weeks until the necks are papery. Then trim roots and stems and store at 55–65°F. Properly cured hardneck keeps 4–6 months, softneck up to 9.
Common questions
How long does garlic take to grow?
Can I grow garlic from a supermarket clove?
Why is my garlic bulb one solid round instead of cloves?
Can I grow garlic in pots?
Do I have to cut the scapes?
Backyard Weekly
Know what to plant, week by week
Free planting calendar. Join the weekly email for seasonal jobs, fixes for what is going wrong, and gear worth buying.
Set MONETIZATION.email.endpoint in src/config/site.ts to enable this form.
By subscribing you agree to our privacy policy. Grow In Backyard will never sell your address.
Keep reading
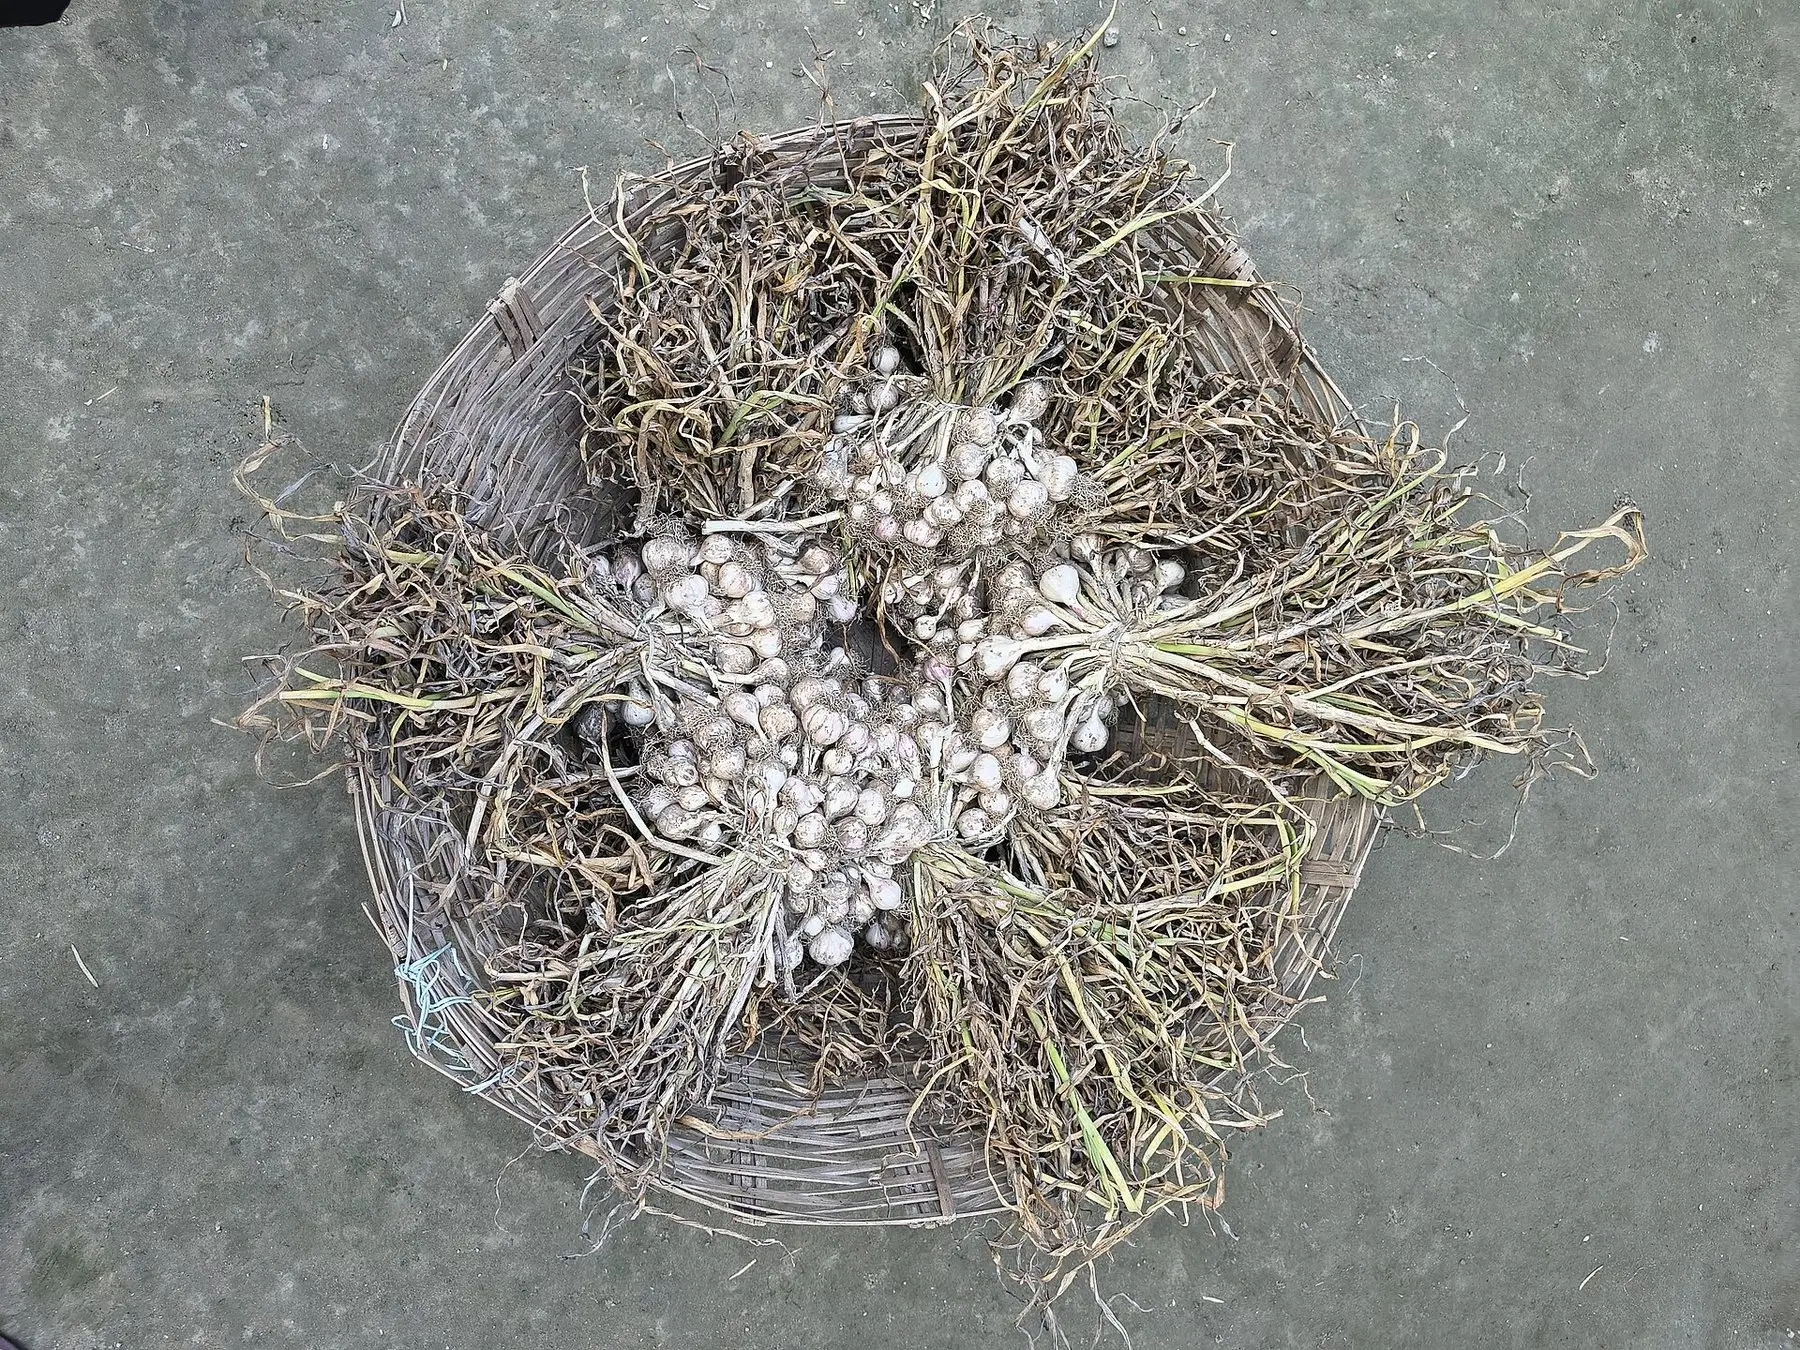
When to Harvest Garlic (Count the Brown Leaves)
Garlic is ready when three or four lower leaves have browned and five or six are still green — usually July. How to read the plant and test before you dig.
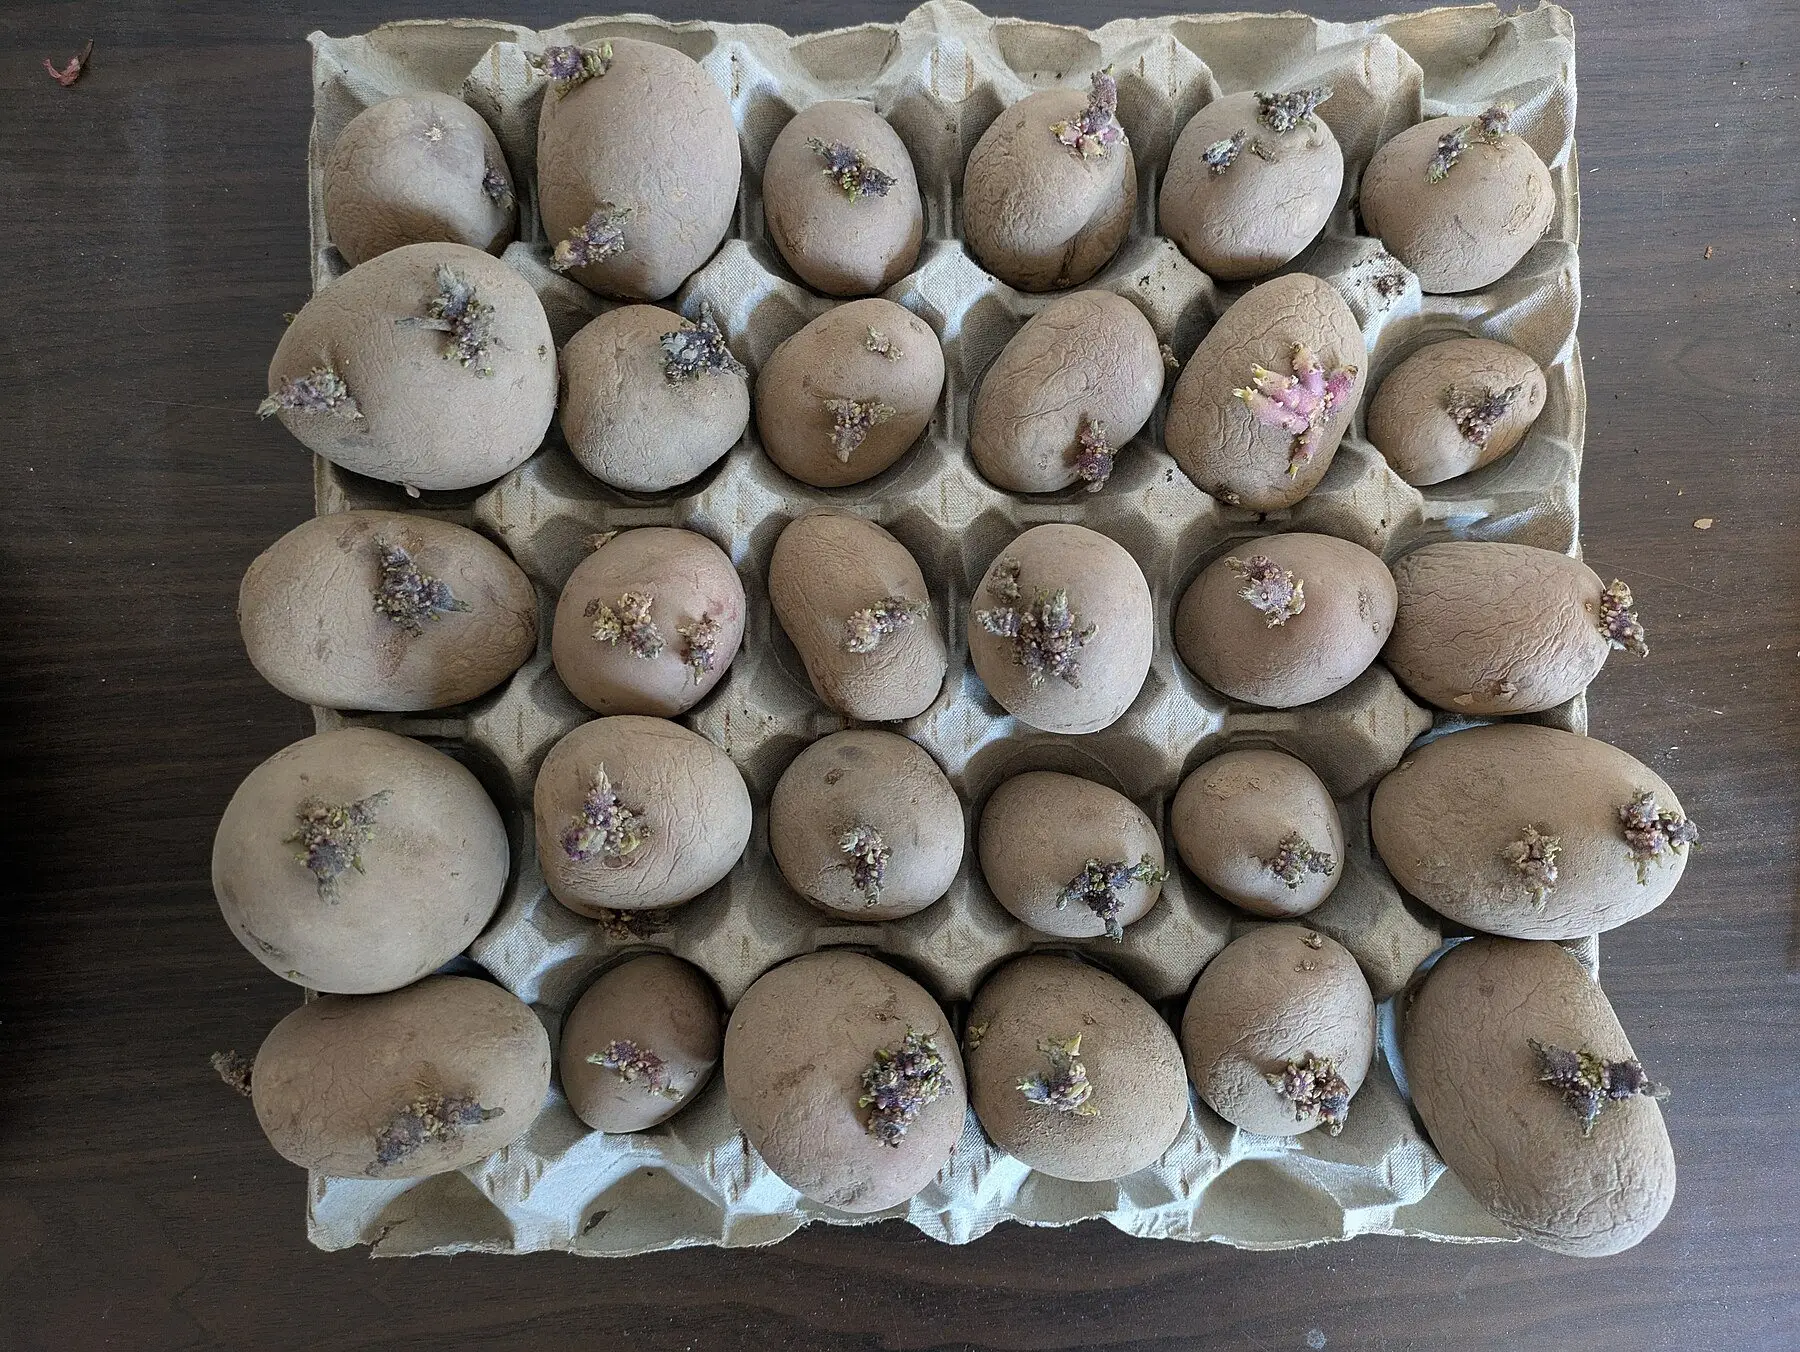
How Deep to Plant Potatoes (And Why Hilling Matters More)
Four inches at planting, then hill as they grow. Why planting deep in cold spring soil backfires, and how depth differs in containers and no-dig beds.
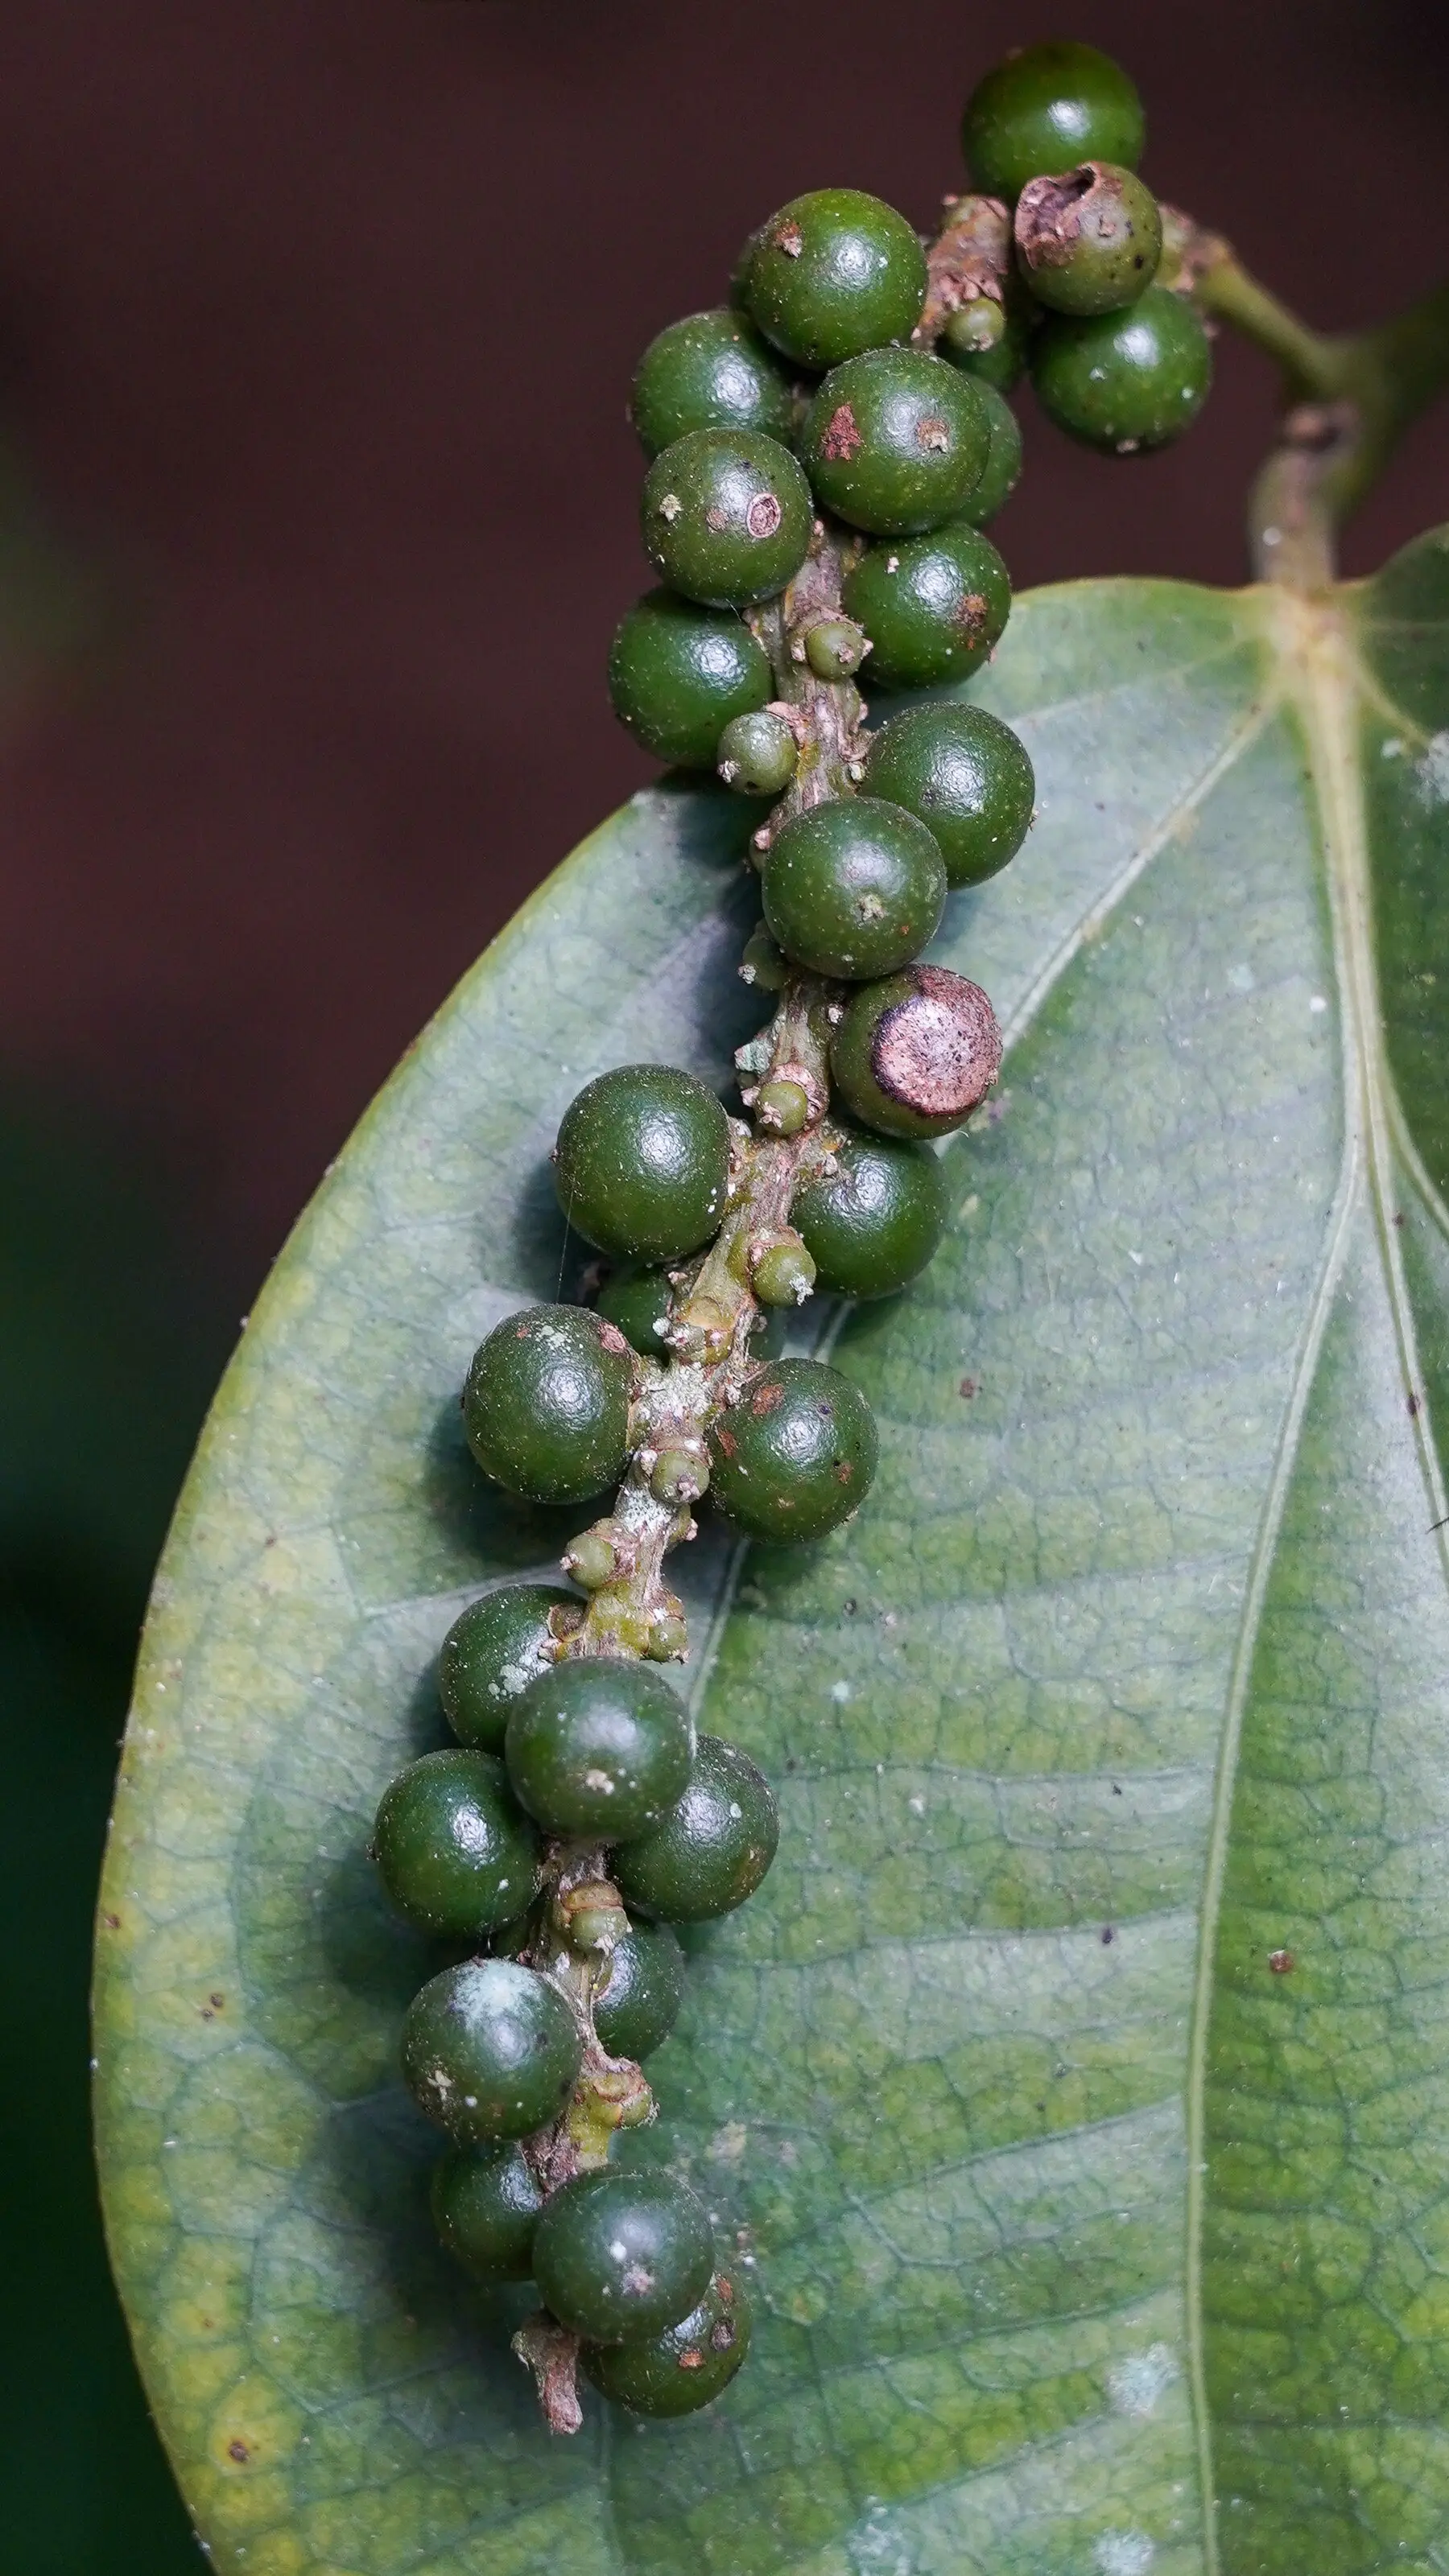
How to Grow Peppercorns: A Tropical Vine in a Pot
Black pepper is a climbing vine needing warmth, humidity and three years before it fruits. What it takes indoors, and why all four peppercorns are one plant.
When Is Corn Harvested? The Milk Test, Not the Calendar
Sweetcorn has a harvest window of a few days and starts losing sugar within an hour of picking. The three signs, and why you check by piercing a kernel.