How to Make a Compost Bin: Three Designs That Work
A heap needs about a cubic yard to heat up, air to keep going, and a lid in wet climates. Pallet, wire and bin designs, plus what actually goes in.
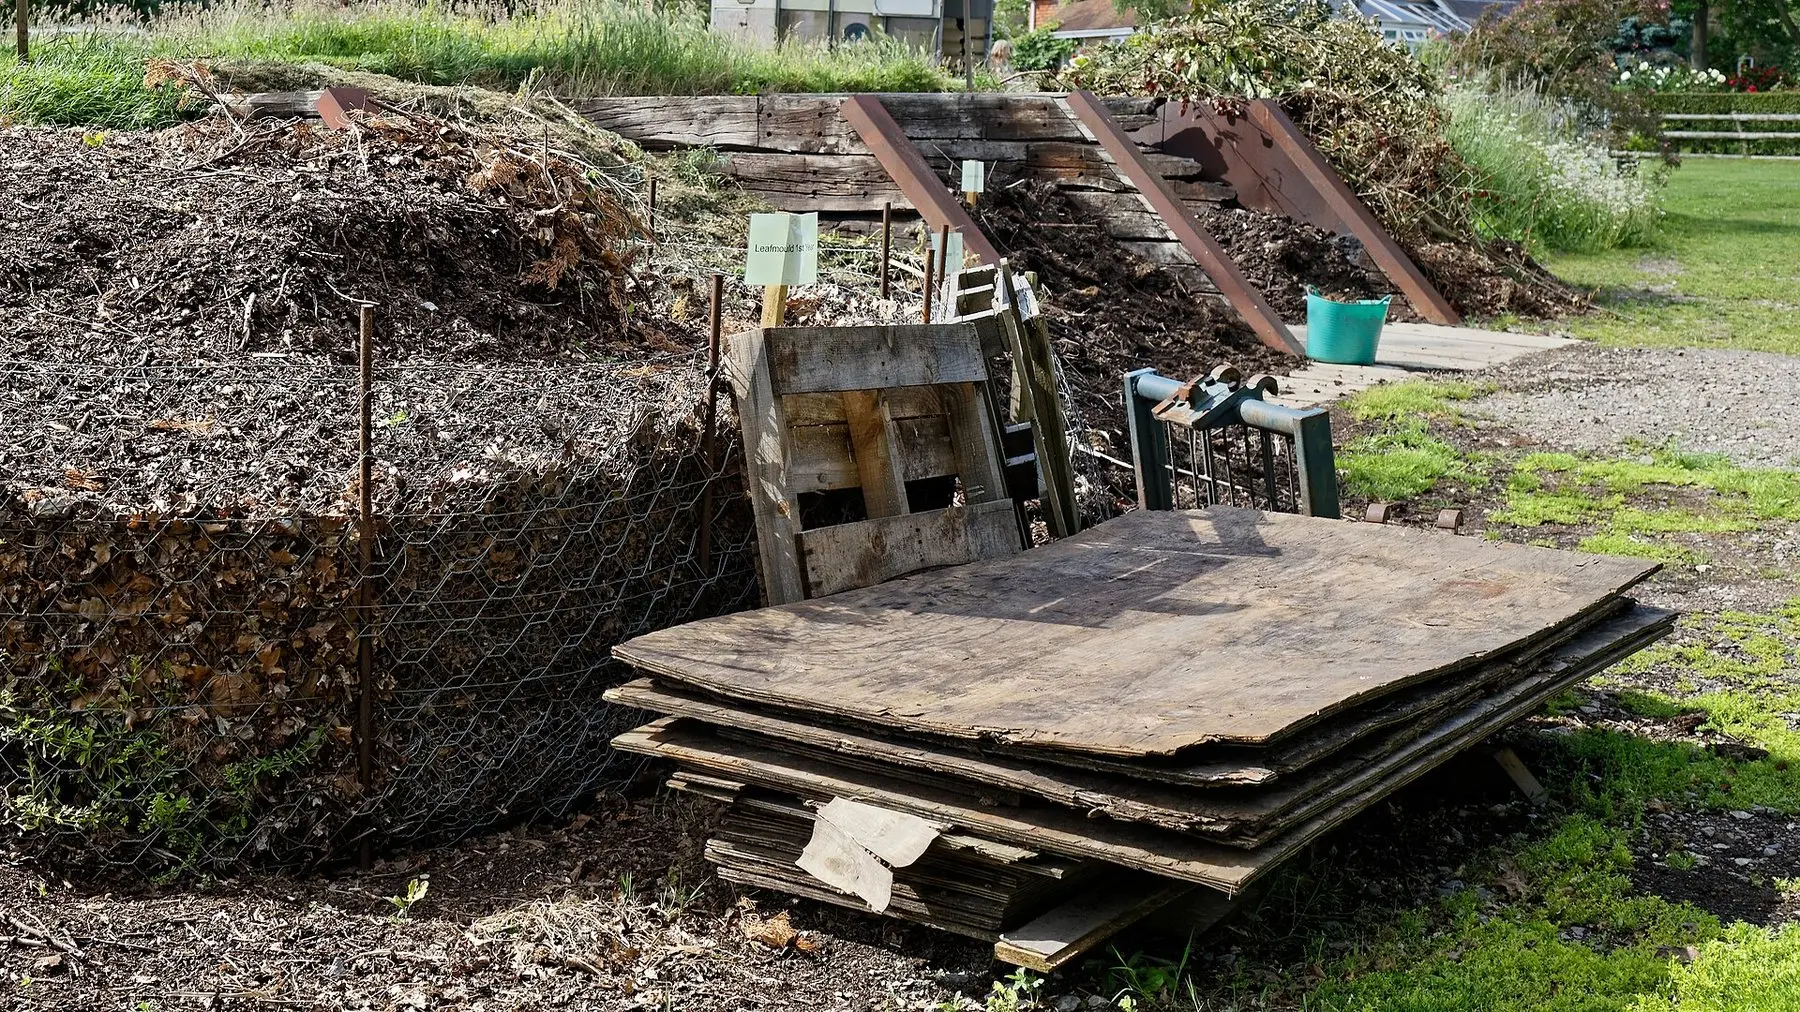

On this page
A compost bin has three jobs: hold the material in a heap big enough to heat, let air through, and keep the worst of the rain off. Everything beyond that is convenience.
The single most important number is volume. Below roughly a cubic yard, a heap cannot hold the heat its own microbes generate, and it never gets hot.
Three designs
| Design | Cost | Build time | Life | Best for |
|---|---|---|---|---|
| Four pallets, wired | Often free | 20 min | 3–5 yrs | Most gardens; the default |
| Wire mesh cylinder | Very low | 15 min | 5+ yrs | Leaves, easy access, small spaces |
| Timber slatted bays | Medium | A day | 10+ yrs | Permanent multi-bay setups |
| Plastic dalek bin | Low–medium | None | 10+ yrs | Small gardens, kitchen waste, rat resistance |
| Tumbler | Medium–high | None | 5–10 yrs | Fast small batches; limited volume |
| Open heap, no bin | Free | None | — | Large gardens with space to spare |
Pallet bin. Four pallets on edge in a square, corners fixed with brackets or wire, front slotted or hinged so it lifts away. Twenty minutes, usually free. Line the inside with cardboard if the slats are too open.
Wire mesh cylinder. A length of galvanised mesh formed into a circle and tied. Excellent for leaves specifically, and the whole cylinder lifts off, leaving the heap standing — which makes turning trivial.
Slatted timber bays. The permanent option: three bays in a row for filling, turning and finished compost, with removable front boards. Worth building if composting is a long-term habit.
Two bins solve the main frustration
With one bin, fresh scraps keep landing on compost that is nearly finished, and nothing is ever ready. Two bins let one fill while the other matures. Three — filling, turning, finished — is the traditional arrangement and is genuinely better than two if you have the room.
Siting
- On soil, not paving. Worms, beetles and soil microbes migrate up into the heap, and excess water drains away.
- Partial shade. Full sun dries it out; deep shade keeps it cold.
- Level, and reachable with a wheelbarrow.
- Not right against a fence or wall — leave room to work around it.
What goes in
| Browns (carbon) | Greens (nitrogen) |
|---|---|
| Dry leaves | Grass clippings |
| Cardboard, torn up | Kitchen fruit and vegetable scraps |
| Straw | Fresh weeds, before they seed |
| Woody prunings, shredded | Coffee grounds and tea leaves |
| Paper, shredded | Manure from herbivores |
| Sawdust from untreated wood | Soft green prunings |
| Egg boxes, toilet roll tubes | Spent plants at the end of a season |
Roughly two parts browns to one part greens by volume. Precision is not needed — the heap tells you when it is wrong. Slimy and smelly means too much green; dry and inert means too much brown.
Keep out:
- Meat, fish, dairy, cooked food — rats and smell.
- Dog and cat faeces — pathogens.
- Diseased plant material — a domestic heap rarely gets hot enough to be reliable, which is why blighted tomato foliage goes in the bin.
- Perennial weed roots — bindweed, couch grass, ground elder. They survive and spread.
- Anything treated with persistent herbicide. Aminopyralid and similar compounds survive composting and the digestive tract of animals, and they damage plants for years. Be careful with imported manure and grass clippings of unknown origin.
- Glossy printed card, coal ash, treated timber.
Getting it hot, or not bothering
Hot composting — turning every few days, balanced inputs, enough volume — reaches 130–160°F, kills most weed seed and pathogens, and finishes in two to three months. It is real work.
Cold composting — pile it up and wait — takes about a year and needs almost nothing. The compost is just as good. Weed seeds survive, so keep seeding weeds out.
Most gardens do a version somewhere between the two, and that is fine.
Troubleshooting
Smells sour or of ammonia — anaerobic. Turn it, add dry browns, cover it if it is rain-soaked.
Nothing happening — too dry, too small, or too brown. Water it, add greens, and consider whether the heap is big enough.
Flies — bury kitchen scraps under a layer of browns rather than leaving them on top.
Rats — usually cooked food or meat going in. Remove the source; a solid-based bin with a lid helps in persistent cases.
Ants — the heap is too dry. Water it and turn it.
Knowing when it is done
Dark brown, crumbly, smelling of woodland soil, with nothing recognisable in it except the odd twig. It should have roughly halved in volume.
Sieve it if you want a fine product, and throw whatever is left in the sieve back into the next heap as a starter — it is full of the organisms you want.
Step by step
- Time
- PT2H
- Cost
- $30
- You need
- Four wooden pallets, or wire mesh, or a plastic bin, Fixings — brackets, wire, or screws, Cardboard or a lid
- Tools
- Drill and driver, Wire cutters or a saw, Garden fork
Size it to about a cubic yard
Three feet by three feet by three feet is the standard minimum for a heap that heats up, because a smaller volume loses heat faster than the microbes generate it. Smaller bins still make compost, just slowly and without reaching temperatures that kill weed seed.
Pick a level, well-drained spot on soil
Site the bin directly on soil rather than on paving, so worms and soil organisms can move in and excess water can drain away. Partial shade is ideal — full sun dries the heap out, deep shade keeps it cold and slow.
Build the frame, leaving gaps for air
Stand four pallets on edge in a square and fix the corners with brackets or wire, leaving the front removable. Or form a cylinder from wire mesh and tie the seam. Air is what keeps decomposition aerobic, and a sealed container turns anaerobic and smells.
Leave the front openable
Fix three sides permanently and hinge or slot the fourth, so you can fork the heap out. A bin you cannot easily empty is the main reason people abandon composting after a year.
Layer browns and greens roughly two to one
Alternate carbon-rich browns — dry leaves, cardboard, straw, woody prunings — with nitrogen-rich greens such as grass clippings, kitchen scraps and fresh weeds. Roughly two parts browns to one part greens by volume works in practice.
Keep it as damp as a wrung-out sponge
Too dry and decomposition stalls; too wet and it goes anaerobic and sour. Add a lid or a sheet of cardboard in wet climates, and water the heap in dry spells.
Turn it every few weeks if you want it fast
Turning reintroduces air and moves the cooler outside material into the hot centre. A turned heap can finish in two to three months; an unturned one takes a year but needs almost no work.
Use it when it is dark, crumbly and smells of earth
Finished compost is dark brown, crumbly, and smells of woodland soil with no recognisable ingredients apart from the odd twig. Sieve out anything coarse and put it back into the next heap.
Common questions
How big does a compost bin need to be?
What is the cheapest way to build a compost bin?
What should not go in a compost bin?
Why does my compost smell bad?
How long does compost take?
Do you need two compost bins?
Backyard Weekly
Know what to plant, week by week
Free planting calendar. Join the weekly email for seasonal jobs, fixes for what is going wrong, and gear worth buying.
Set MONETIZATION.email.endpoint in src/config/site.ts to enable this form.
By subscribing you agree to our privacy policy. Grow In Backyard will never sell your address.
Keep reading
Coffee Grounds in the Garden: What They Actually Do
Used coffee grounds are not acidic, do not repel slugs, and should never be spread thickly. What they are genuinely good for, and how to use them.
What Are Worm Castings, and Are They Worth Buying?
Worm castings are worm manure — a mild fertiliser whose real value is microbial, not nutritional. What the numbers mean and how much you actually need.
Wood Chips in the Garden: The Nitrogen Myth, Explained
Wood chips only rob nitrogen where they meet soil, so they are excellent as a surface mulch and a bad idea dug in. Where to use them, and which chips to avoid.
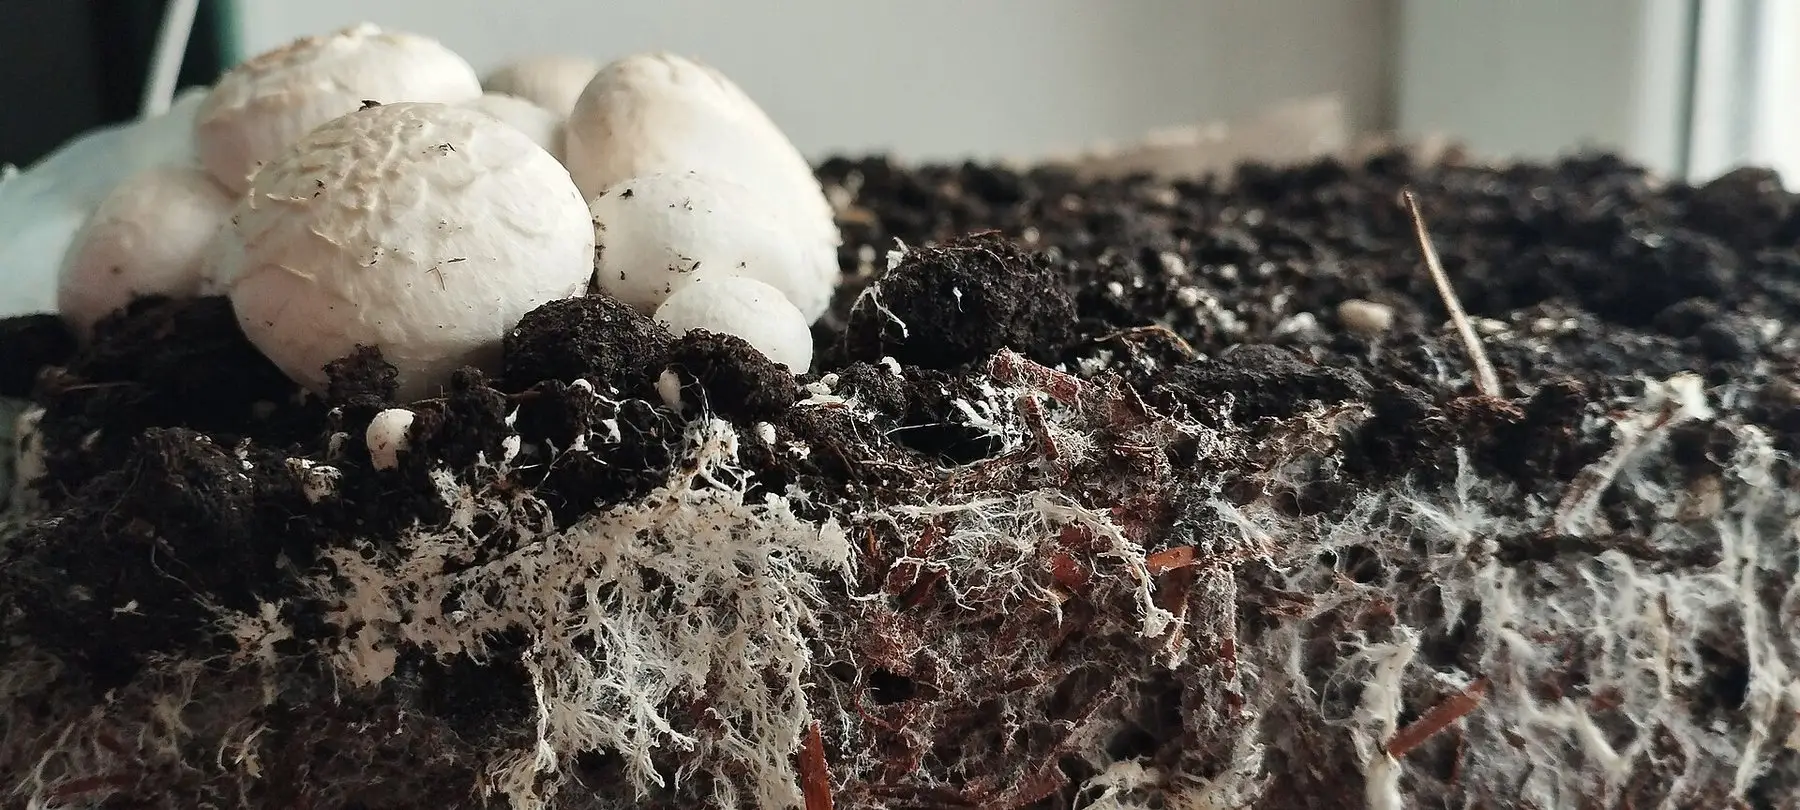
Mushroom Compost: What It Is and Where Not to Use It
Spent mushroom substrate is cheap, alkaline and salty when fresh. Excellent on clay and vegetable beds, actively harmful around acid-loving plants and seedlings.