How to Build a Retaining Wall That Does Not Lean
Base depth, gravel backfill, and drainage decide whether a wall lasts thirty years or bulges in three. The full build, and when to call an engineer.
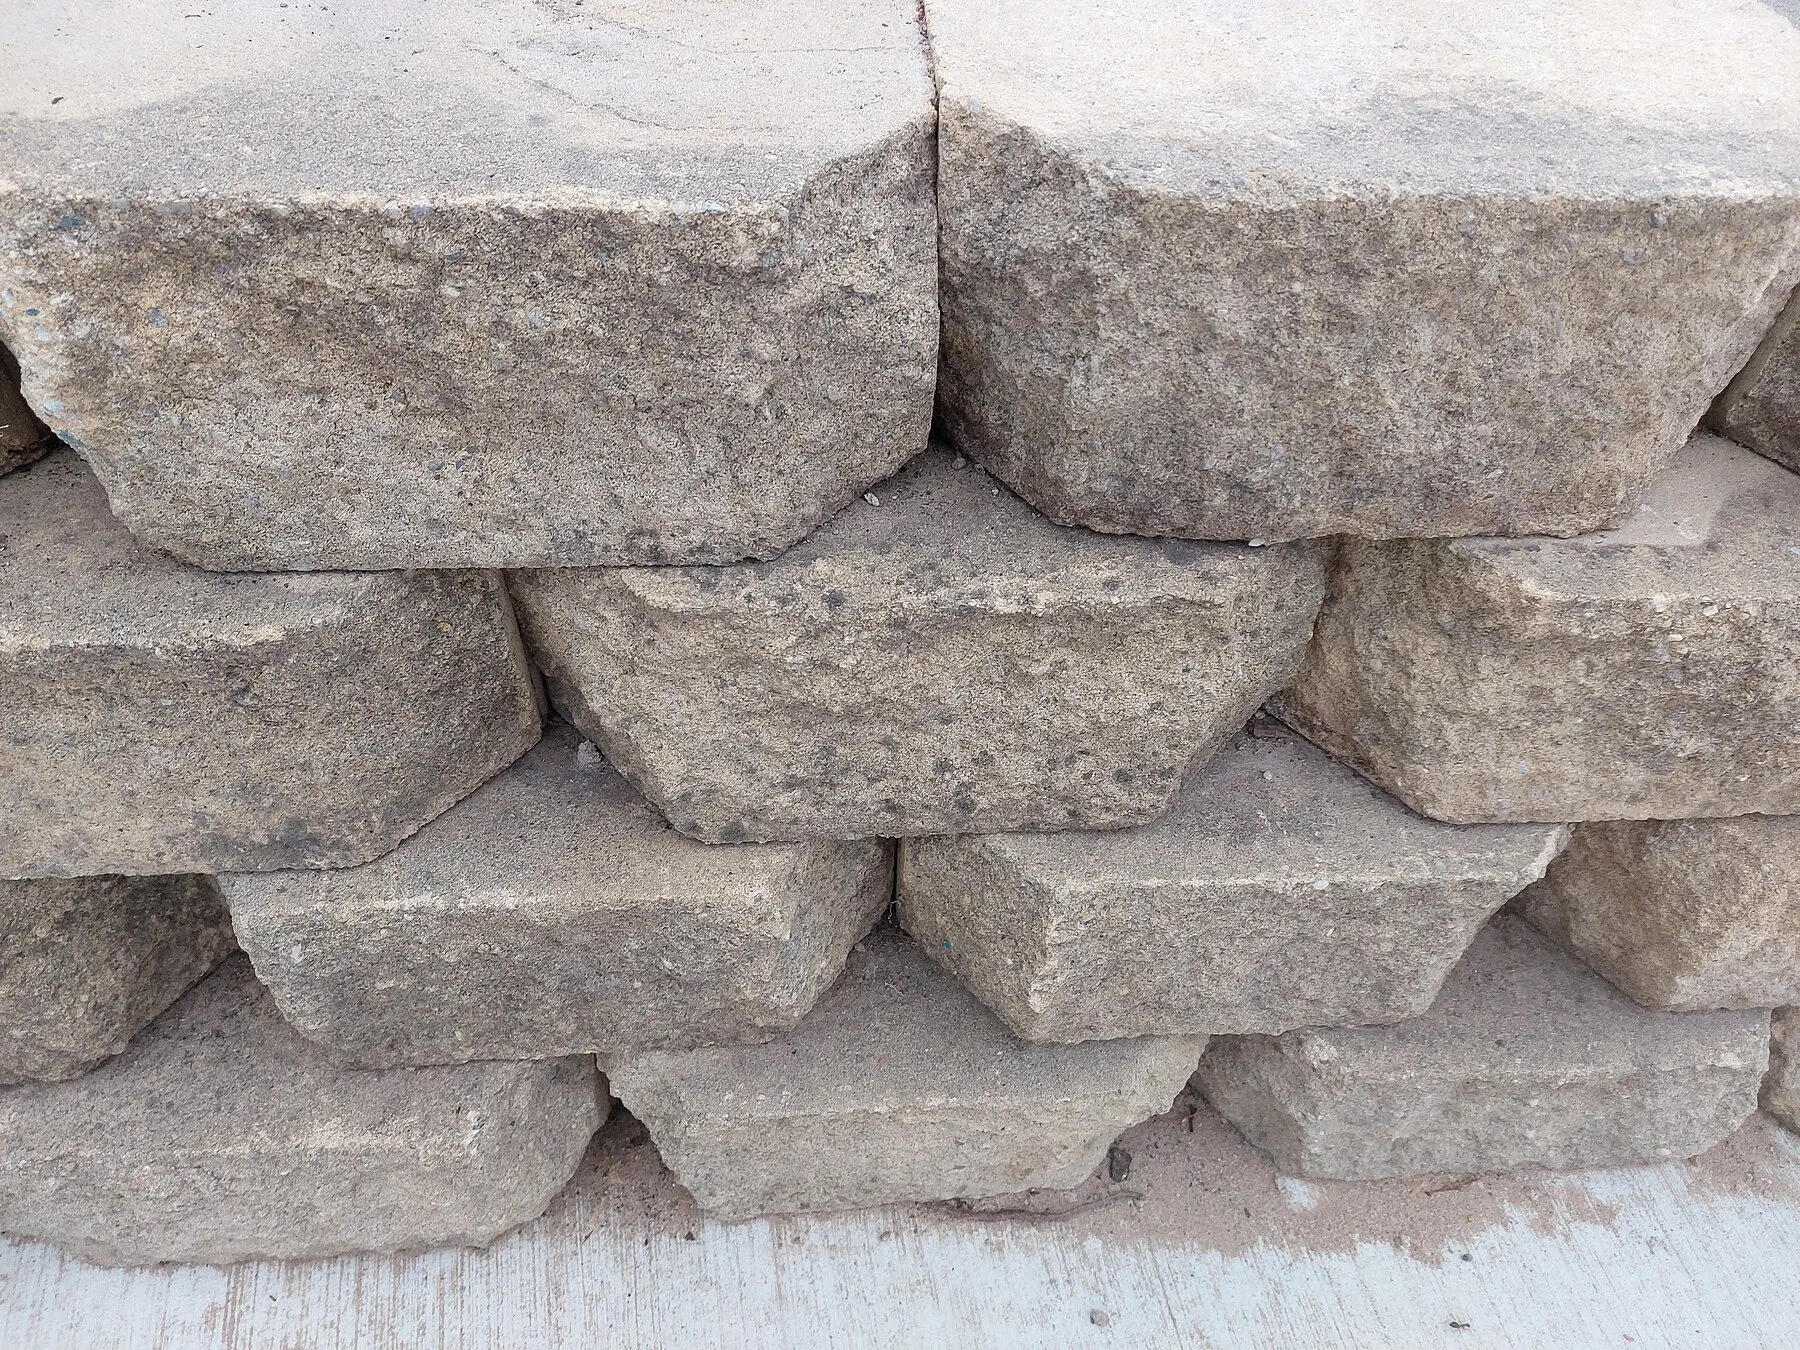

On this page
A retaining wall is a small civil engineering project wearing the costume of a weekend job. The blocks are the easy part; what decides whether it stands for thirty years or bulges in three is the two things nobody sees — the base and the drainage.
What a wall is actually fighting
Soil behind a wall pushes sideways. Dry, that push is manageable. Saturated, it roughly doubles — and it adds hydrostatic pressure, which is water pressing directly on the blocks with nowhere to go.
Every failure mode follows from that:
| Symptom | Cause |
|---|---|
| Bulging in the middle | Water pressure — drainage absent or clogged |
| Leaning forward as a unit | Base too shallow, or not compacted |
| One section dropped | Soft spot under the base course |
| Cracked, stepped joints | Frost heave; base above the frost line |
| Soil washing through joints | No geotextile between gravel and soil |
Before you dig
Call 811. It is free, it takes a few days, and hitting a gas or fibre line is the sort of mistake that ends a project permanently.
Check the height rule. Most US jurisdictions want an engineered design and a permit above about 4 feet, measured from the bottom of the buried base course — not from where the ground looks like it starts. Some set it at 3 feet. A slope above the wall, a driveway, or a structure within the wall’s influence zone all lower the threshold. This is not a rule to eyeball.
Two walls are not a workaround
Terracing two 3-foot walls to avoid an engineer only works if they are far enough apart that the upper wall’s load falls outside the lower wall’s influence zone — roughly twice the wall height. Stacked closer than that, the lower wall is carrying the upper one and both need designing.
Materials
| Material | Cost | Life | Notes |
|---|---|---|---|
| Segmental concrete block | $$ | 50+ yrs | Best DIY choice — no mortar, built-in setback |
| Natural stone | $$$$ | Indefinite | Beautiful, slow, skilled work |
| Treated timber | $ | 15–20 yrs | Cheapest; it is a replacement schedule, not a wall |
| Poured concrete | $$$$ | 50+ yrs | Needs a frost-depth footing; usually a contractor |
| Gabion baskets | $$ | 30+ yrs | Drains freely by design; industrial look |
Get 3/4 inch clean angular gravel for the base and the backfill. Not pea gravel — rounded stone rolls under load and will not compact into a stable platform.
The build
1. Dig the trench. Wide enough for the block plus 12 inches behind it. Deep enough for the buried course plus 6 inches of gravel.
2. Compact the trench bottom with a plate compactor. Rent one; a hand tamper is not enough for this step and every soft spot you leave becomes a dip later.
3. Gravel base, 6 inches, in two lifts, compacting each.
4. The first course, dead level. Expect this to take as long as all the other courses combined. Level each block in both directions, and check along a string line. Out by ¼ inch at the bottom is out by 3 inches at the top of a six-course wall, and it is not fixable later.
5. Stack, staggered. Offset the joints, keep the setback lip engaged, and sweep each course clean before laying the next — a single piece of grit under a block tilts it.
6. Drainage, as you go. Perforated pipe on gravel at the base, pitched to daylight at one end so it actually discharges somewhere. A 12-inch column of clean gravel behind the blocks. Non-woven geotextile wrapping the gravel so silt cannot migrate in and clog it. Fabric is cheap; a clogged drain is a demolished wall.
7. Backfill in 6–8 inch lifts, compacting each. Stay light within a foot of the blocks — heavy compaction right behind a wall pushes it out of alignment.
8. Cap it with construction adhesive, and grade the soil above so surface water runs away from the wall rather than over it.
Check it after the first heavy rain
Walk the wall after the first real downpour and look for water coming out of the drain pipe. If the pipe is dry while the soil above is saturated, the drainage is not working and you want to know that now, not in three years.
Where geogrid comes in
Above roughly 3–4 feet, or under any significant load, blocks alone are not enough. Geogrid is a stiff mesh laid between courses and extending back into the backfill, so the wall and a wedge of soil behind it act as one mass.
That is also the point where you are into engineered territory. If your design calls for geogrid, it should also call for a drawing someone stamped.
Step by step
- Time
- P2D
- Cost
- $900
- You need
- Segmental retaining wall blocks, Crushed angular gravel, 3/4 inch clean, Perforated drain pipe, Non-woven geotextile fabric, Construction adhesive, for the cap course
- Tools
- Shovel and mattock, Plate compactor, 4-foot level and string line, Hand tamper, Masonry saw or splitter, Wheelbarrow
Check the height limit and call 811 first
Most jurisdictions require an engineer's design and a permit above about 4 feet, measured from the bottom of the buried base course. Call 811 to have utilities located before any digging — it is free and it is the law in every US state.
Dig the trench deeper than feels necessary
The trench must be wide enough for the block plus about 12 inches behind it, and deep enough to bury the first course entirely: figure one inch of buried block for every eight inches of finished wall height, plus 6 inches for the gravel base, and never less than 6 inches of block below grade.
Compact the native soil in the trench
Run a plate compactor over the trench bottom before any gravel goes in. Any soft spot left here becomes a dip in the wall two winters from now.
Build and compact a gravel base
Add 6 inches of 3/4 inch clean angular gravel in two lifts, compacting each one. Angular gravel locks together; rounded pea gravel rolls and will not hold a level base.
Set the first course dead level
This course takes the longest and decides everything above it. Level each block front to back and side to side, and check along a string line. A base course out by a quarter inch is out by three inches at the top of a six-course wall.
Stack with the courses staggered and set back
Offset every block so joints never line up, and keep the built-in setback lip engaged so the wall leans back into the slope. Sweep each course clean before laying the next — a single grain of grit tilts a block.
Install drainage behind the wall as you go
Lay perforated pipe on gravel at the base, pitched to daylight at one end, and backfill a 12 inch column of clean gravel behind the blocks. Wrap the gravel in non-woven geotextile so soil cannot migrate in and clog it.
Backfill soil in compacted lifts
Fill behind the gravel column in 6 to 8 inch lifts, compacting each. Do not compact heavily within a foot of the blocks, which can push the wall out of line.
Cap the wall and finish the grade
Glue the cap course down with construction adhesive. Grade the soil above the wall so surface water runs away from it, not over the top, and check the wall after the first heavy rain.
Common questions
How deep should a retaining wall base be?
How high can you build a retaining wall without an engineer?
Do retaining walls need drainage?
What is the best material for a retaining wall?
Why do retaining walls lean or bulge?
Should a retaining wall lean back into the hill?
Backyard Weekly
Know what to plant, week by week
Free planting calendar. Join the weekly email for seasonal jobs, fixes for what is going wrong, and gear worth buying.
Set MONETIZATION.email.endpoint in src/config/site.ts to enable this form.
By subscribing you agree to our privacy policy. Grow In Backyard will never sell your address.
Keep reading
Retaining Walls: Drainage Decides Whether Yours Lasts
Most failed retaining walls failed at the base or the back, not the face. Block types, the height where you need an engineer, and how to build one that holds.
Rock Garden Ideas That Look Like They Belong There
The difference between a rockery and a pile of stones is drainage and burial. How to set rock so it reads as outcrop, and what actually survives in it.

Loam Soil: What It Is, and How to Get It From Clay or Sand
Loam is a particle-size ratio, not a product you buy. How to test what you have with a jar of water, and the only method that genuinely changes it.

Small Backyard Ideas That Make the Space Feel Bigger
Small gardens fail by being over-divided and lined with furniture around the edge. The moves that add usable space, and what to spend money on first.