How to Grow Mint Without It Taking Over the Garden
Mint spreads by runners just under the surface and will colonise a bed in two seasons. Containment that actually works, and the pruning that keeps leaves tender.

On this page
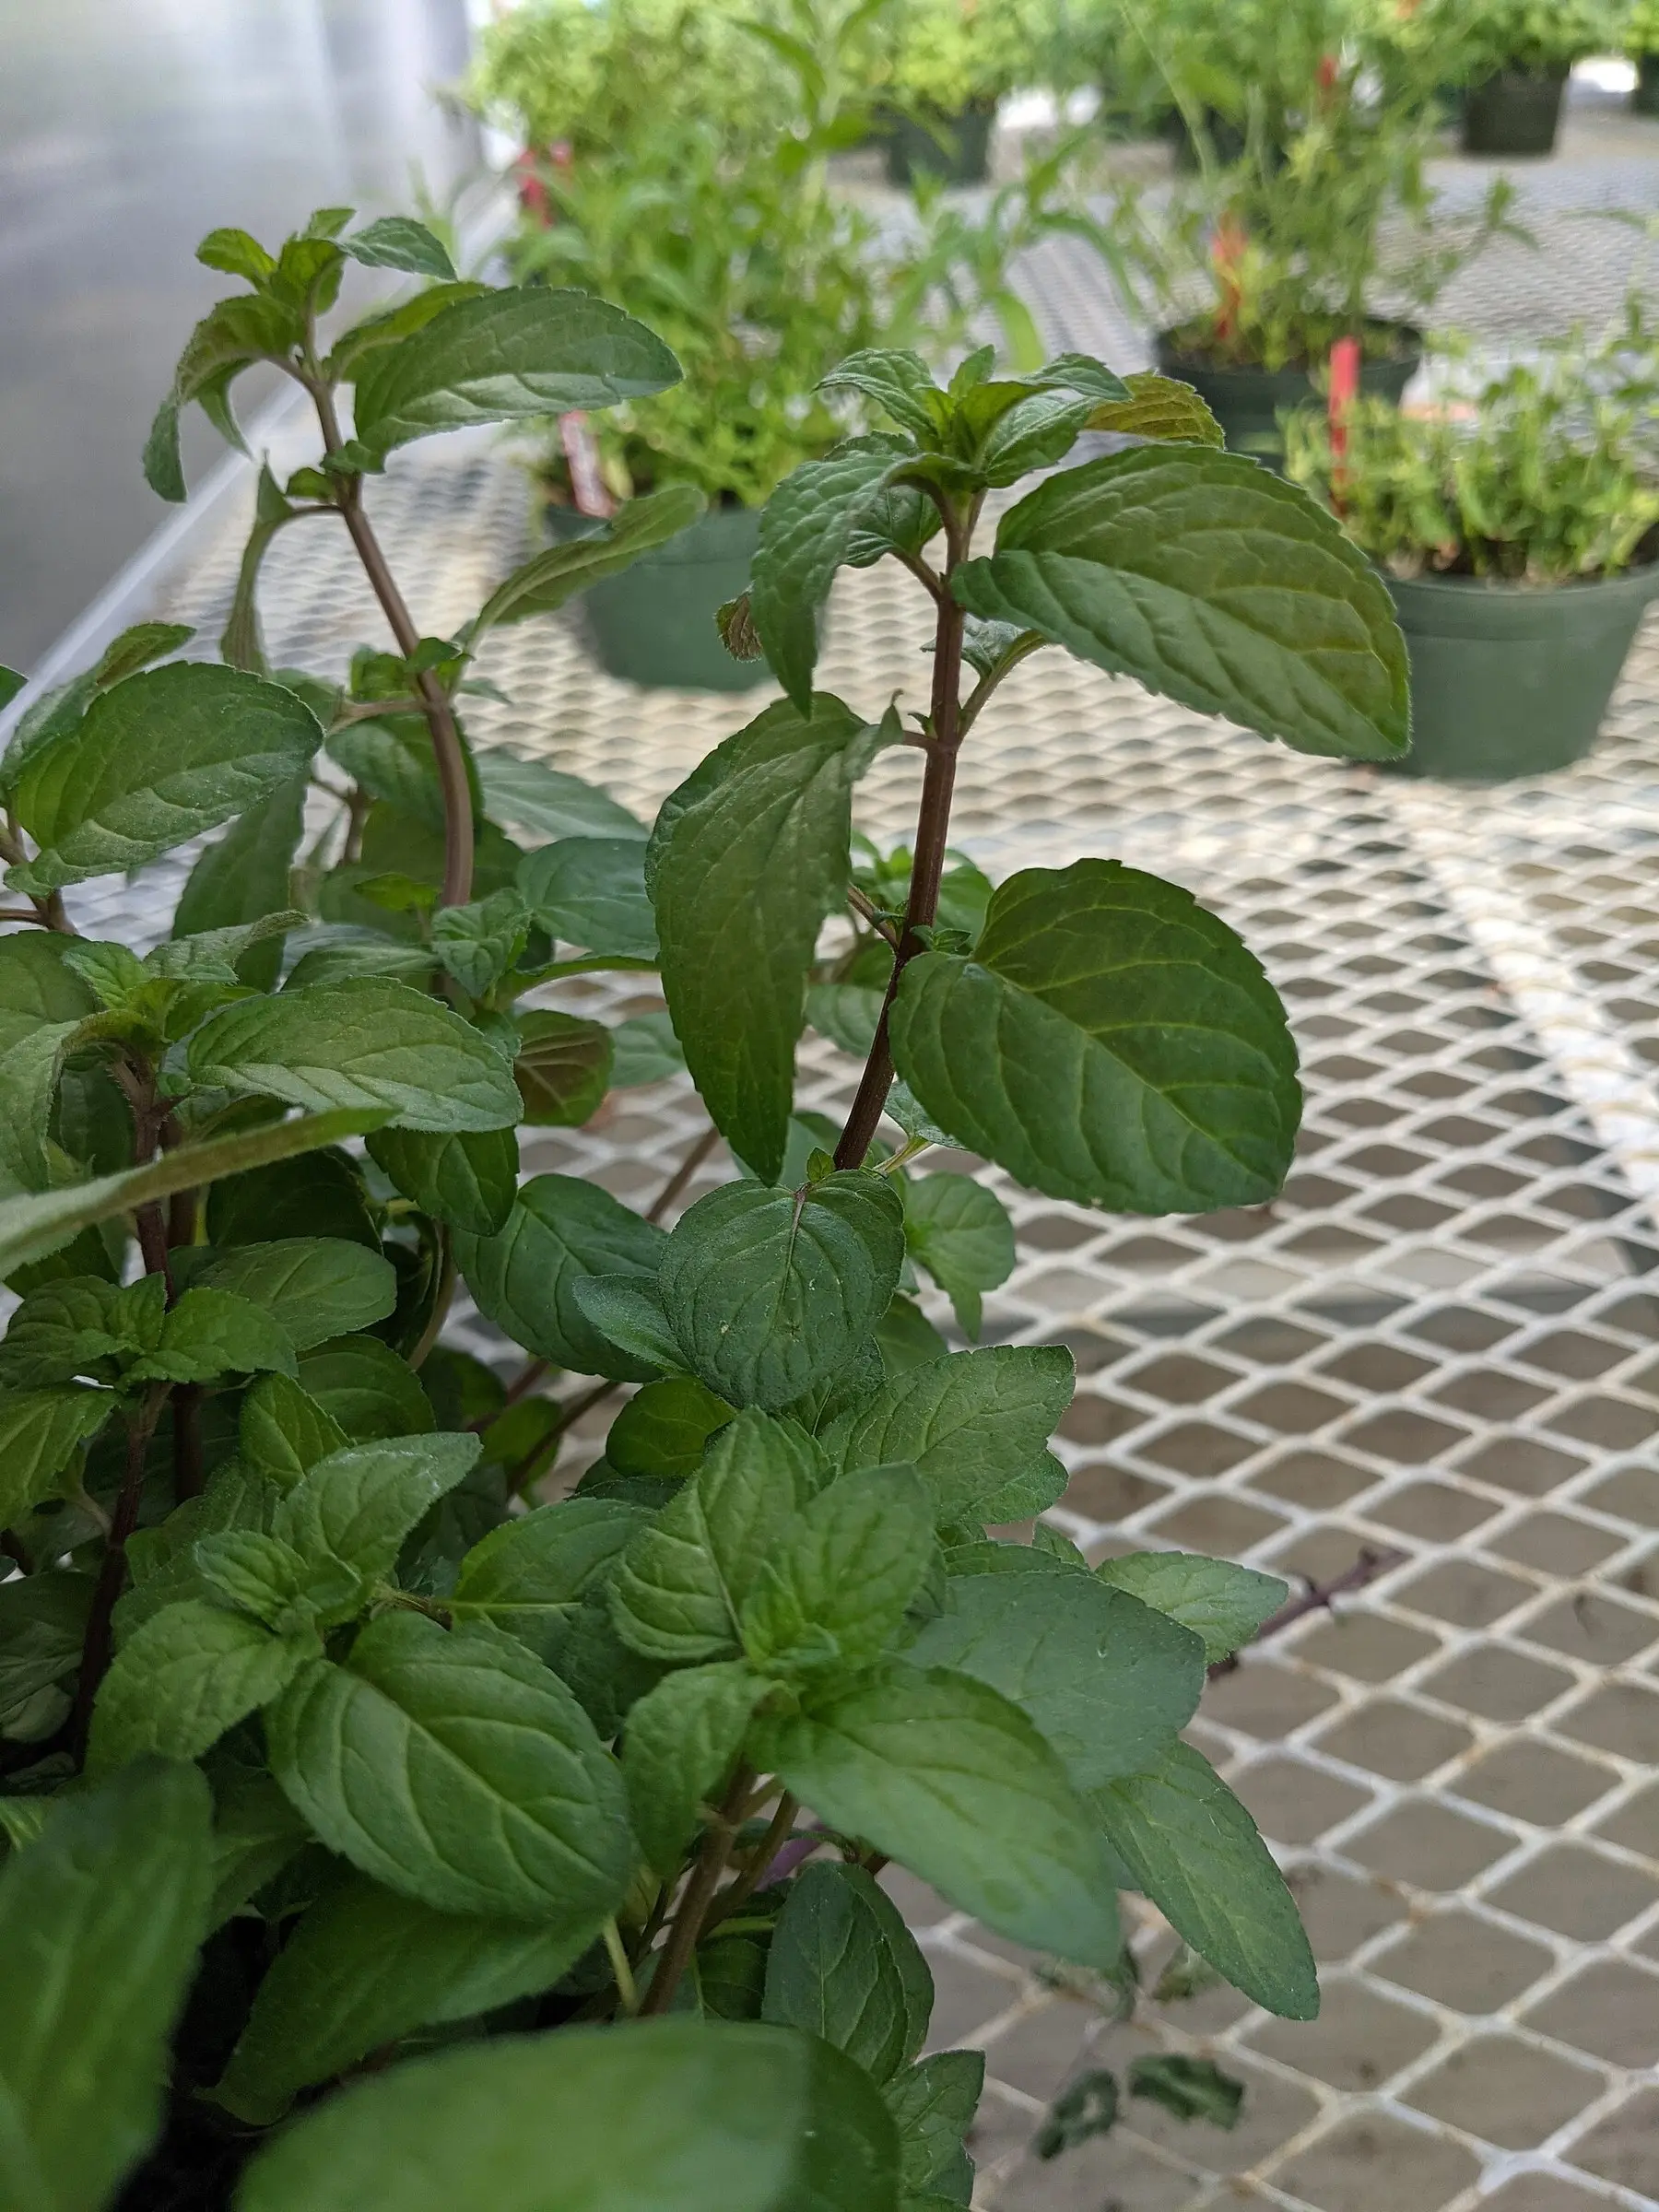
Mint is the easiest herb to grow and the hardest to get rid of, and both facts have the same cause: it spreads by rhizomes — horizontal stems running an inch or two below the surface, sending up new shoots as they go.
Put one in a border and within two seasons it will be several feet across and threaded through the roots of everything near it. Every fragment left behind grows again.
Containment, properly
A pot at least 12 inches across, with drainage, in ordinary potting mix. That is the whole answer for most people.
If you want mint in a bed:
- Sink a bottomless container or a large pot into the soil.
- Leave the rim standing an inch or two above the surface. This is the step people skip, and mint simply runs over a flush rim and out into the bed.
- Check the edges each spring for runners that have escaped over the top.
A pot standing on soil is not contained
Mint will send roots out through the drainage holes, into the ground, and away. Stand containers on paving, on gravel, or on pot feet, and lift them occasionally to check. This is the most common way people end up with mint in a lawn.
Conditions: not the usual herb advice
Most herbs — rosemary, thyme, oregano, lavender — want sun, heat, and sharp drainage. Mint wants the opposite of all three.
- Partial shade. Morning sun and afternoon shade is ideal.
- Consistently moist soil. It grows wild on stream banks.
- Ordinary, moderately rich soil. No need for grit or lean conditions.
Full sun plus dry soil is what gives you small, tough, bitter leaves — and it is exactly what happens when mint is planted in a Mediterranean herb bed alongside plants with opposite requirements.
Varieties
| Variety | Flavour | Best for |
|---|---|---|
| Spearmint | Classic, mild, sweet | Cooking, mint sauce, tea |
| Peppermint | Strong, high menthol | Tea, infusions |
| Moroccan mint | Clean, bright spearmint type | Mint tea |
| Apple mint | Soft, fruity, fuzzy leaves | Cooking; very vigorous |
| Chocolate mint | Peppermint with a cocoa note | Desserts, drinks |
| Ginger mint | Variegated, mild | Ornamental and culinary |
| Corsican mint | Tiny, intense, creeping | Between paving; not for cutting |
Grow each in its own pot. Mints hybridise and compete, and a mixed container becomes a single vigorous mint — usually apple mint — within a couple of years.
Keeping the leaves good
Two jobs, both continuous:
Pinch the tips. Taking the growing point out of each stem forces the plant to branch from lower buds. Do it from the moment the plant is established, and repeatedly. The difference between a bushy mint and a leggy one is entirely this.
Remove flower buds as they appear. Flowering is the signal that ends tender leaf production — foliage toughens and turns bitter within a week or two. Pinch the buds off and the plant carries on producing leaf for months longer.
Late in the season it is worth letting some flowers open, because mint flowers are excellent for bees and hoverflies. Just do it on a plant you have finished harvesting.
Harvesting
Cut whole stems, back by a third to a half, just above a pair of leaves. The plant branches from that cut and regrows within a couple of weeks.
Picking individual leaves off standing stems gives you bare stalks and no regrowth signal — it is the single most common mistake with mint, and the same one people make with basil.
Cut in the morning after the dew has dried, when the essential oil content is highest.
For storage, mint dries acceptably but loses a lot of its character. Freezing chopped mint in ice cube trays with a little water keeps far more of the flavour.
Dividing
Potted mint becomes a solid mat of woody rhizome within two or three years, and the plant declines — fewer, smaller leaves, and compost that water runs straight through.
In spring: tip it out, cut the root mass into sections with a knife or a spade, discard the old woody centre, and replant a young outer piece in fresh compost. Give the spare pieces away, or throw them away — do not put them on the compost heap, where they will root.
Propagating
Almost trivially easy, which is the other side of the invasiveness:
- Stem cutting in water. A 4 inch stem, lower leaves stripped, in a glass on a windowsill. Roots in one to two weeks.
- Rhizome division. Any piece of underground stem with a growing point.
Both work nearly always. Neither should be done anywhere near an open bed.
Step by step
- Time
- P90D
- Cost
- $8
- You need
- A mint plant, or a cutting from one, Potting mix, A container at least 12 inches across
- Tools
- Secateurs or scissors, Trowel
Plant it in a container, not in a bed
Mint spreads by rhizomes running horizontally just below the surface, and in open ground it will colonise several square feet within two seasons and is very difficult to remove. A pot is not a compromise — it is the normal way to grow mint.
If you want it in a bed, sink the pot into the soil
Bury a bottomless container or a large pot with the rim standing an inch or two proud of the soil surface. The rim matters: mint also runs over the top of a sunken pot if the edge is flush with the ground.
Give it partial shade and consistently moist soil
Mint is one of the few herbs that prefers damp soil and tolerates shade — it grows wild along stream banks. Full sun with dry soil gives small, tough, bitter leaves. Morning sun with afternoon shade produces the best foliage.
Grow different mints in separate pots
Mints hybridise and the more vigorous varieties smother the rest, so a mixed pot becomes a single mint within a couple of years. Keep spearmint, peppermint, chocolate mint and apple mint in their own containers if you want to keep them distinct.
Pinch the growing tips regularly from the start
Pinching out the top of each stem forces branching lower down and gives a bushy plant with far more usable leaf. Left alone, mint grows tall, leggy and bare at the base, and then flowers.
Cut off flower buds as they appear
Once mint flowers it diverts energy from leaf production and the foliage turns tough and bitter. Removing buds as they form keeps the plant producing tender leaves for months longer, though leaving some late flowers is excellent for pollinators.
Harvest by cutting whole stems, not individual leaves
Cut stems back by a third to a half, just above a pair of leaves. The plant branches from that point and regrows quickly. Picking individual leaves leaves you with bare stalks and does nothing to encourage new growth.
Divide and refresh the plant every two or three years
A potted mint becomes a dense mat of woody rhizomes and declines. In spring, tip it out, cut the root mass into sections, discard the old woody centre and replant a healthy piece in fresh compost.
Common questions
Why should mint be grown in a pot?
Does mint need sun or shade?
How do you keep mint from getting leggy?
Can you grow different mints together?
How do you propagate mint?
Why is my mint tasting bitter?
Backyard Weekly
Know what to plant, week by week
Free planting calendar. Join the weekly email for seasonal jobs, fixes for what is going wrong, and gear worth buying.
Set MONETIZATION.email.endpoint in src/config/site.ts to enable this form.
By subscribing you agree to our privacy policy. Grow In Backyard will never sell your address.
Keep reading
How to Grow Basil: Pinch It Early, Pinch It Often
Basil is easy to grow and easy to lose to one mistake — letting it flower. How to sow it, where to put it, and the pinching routine that keeps it producing.
How to Grow Rosemary: Drainage First, Water Almost Never
Rosemary is killed by wet roots far more often than by cold. Soil, siting, the pruning rule that avoids dead patches, and overwintering in a cold climate.
Outdoor Plants in Pots: What Survives, and What Kills Them
A pot outdoors is a harsher place than the ground — hotter, drier, and colder in winter. How to pick plants and pots that cope, and get through the cold.
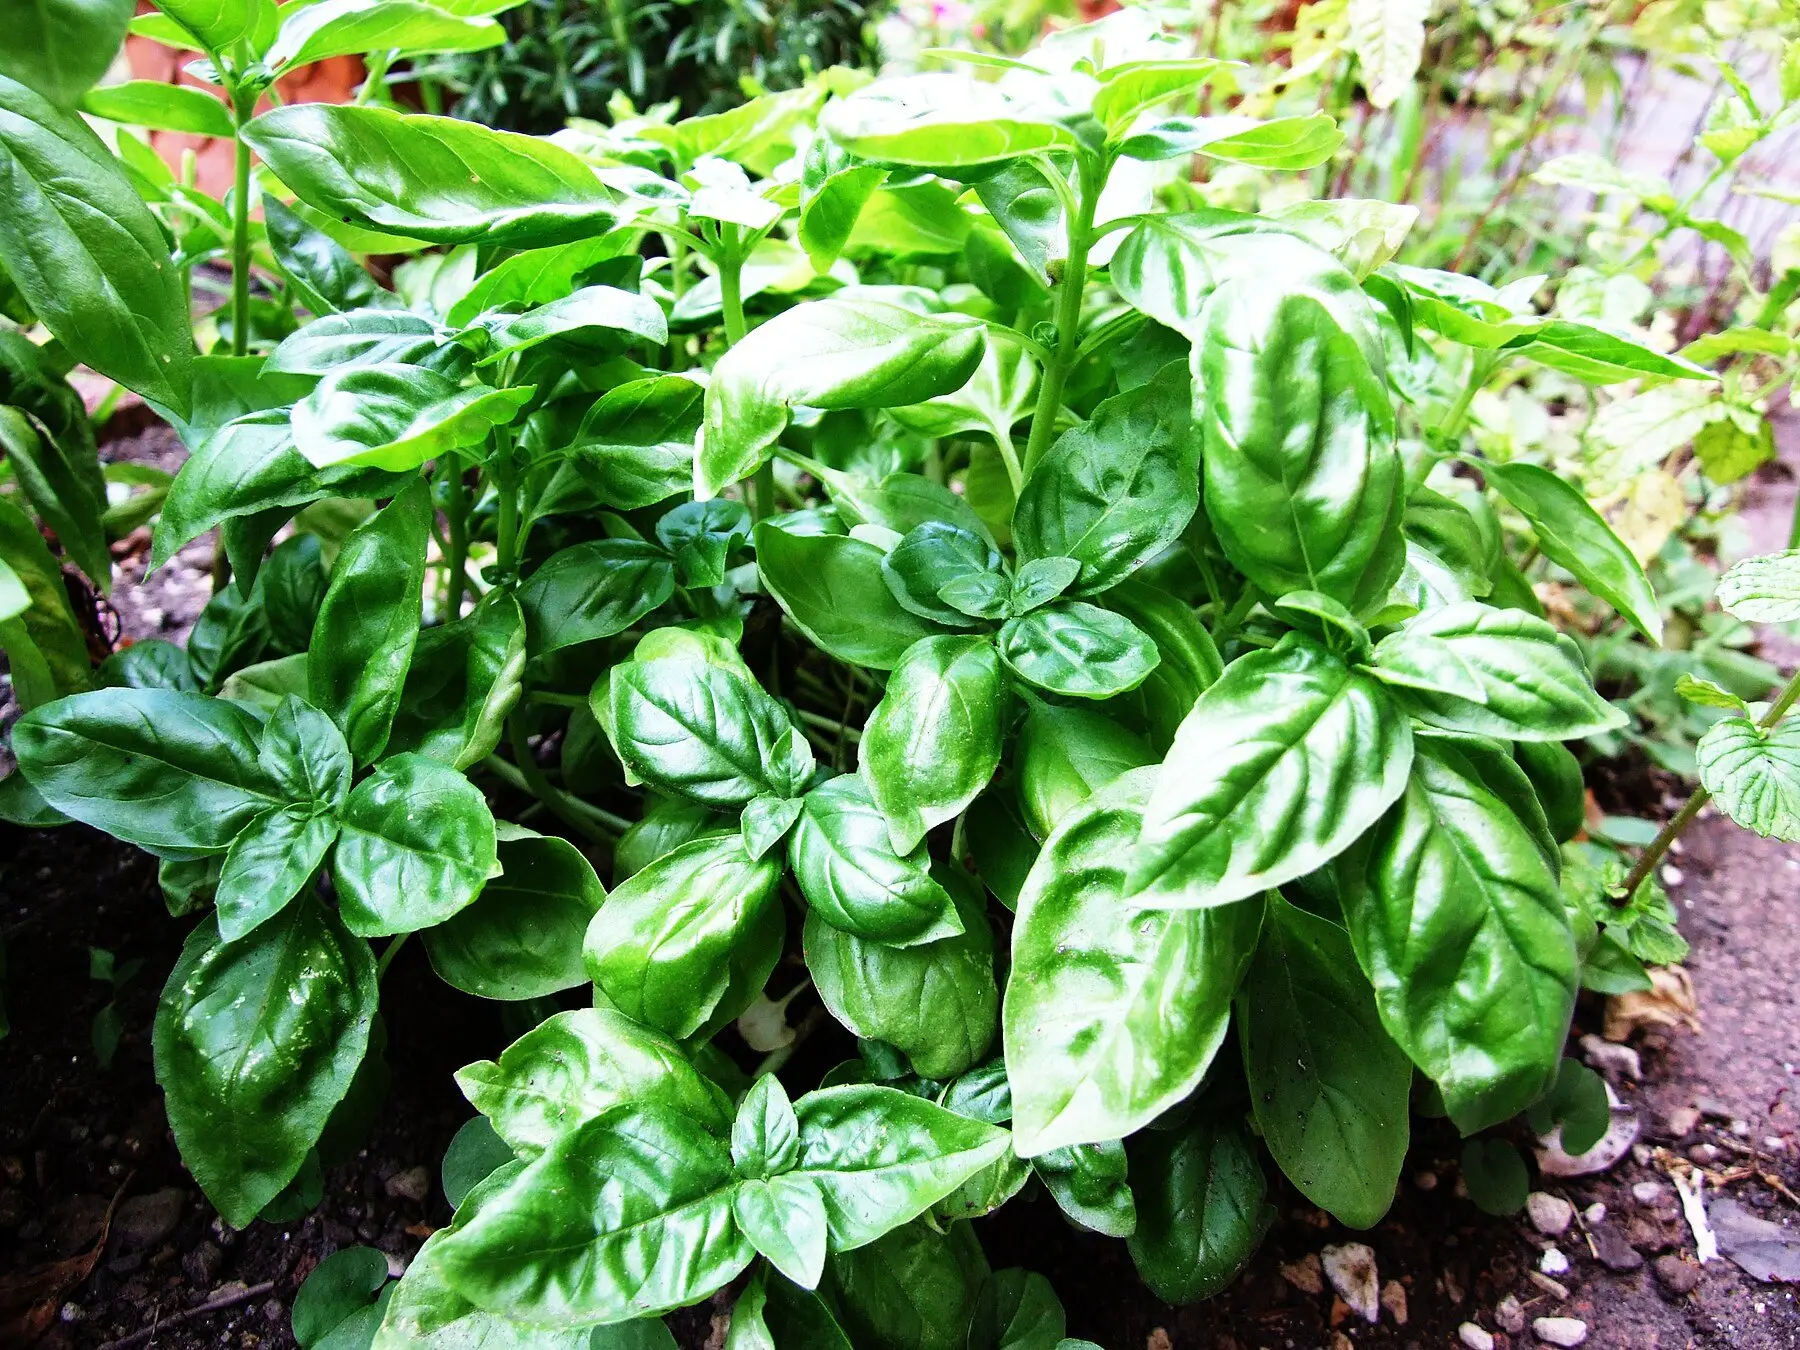
How to Harvest Basil So the Plant Gets Bushier
Cut above a leaf pair, never strip the bottom leaves, and pinch the flowers. The harvesting method that doubles the size of a basil plant instead of ending it.