How to Grow Potatoes: Chitting, Depth, and Earthing Up
Potatoes form on stem, not roots, which is why you plant them deep and keep burying them. Seed potatoes, timing by variety group, and the mistakes that cost a crop.
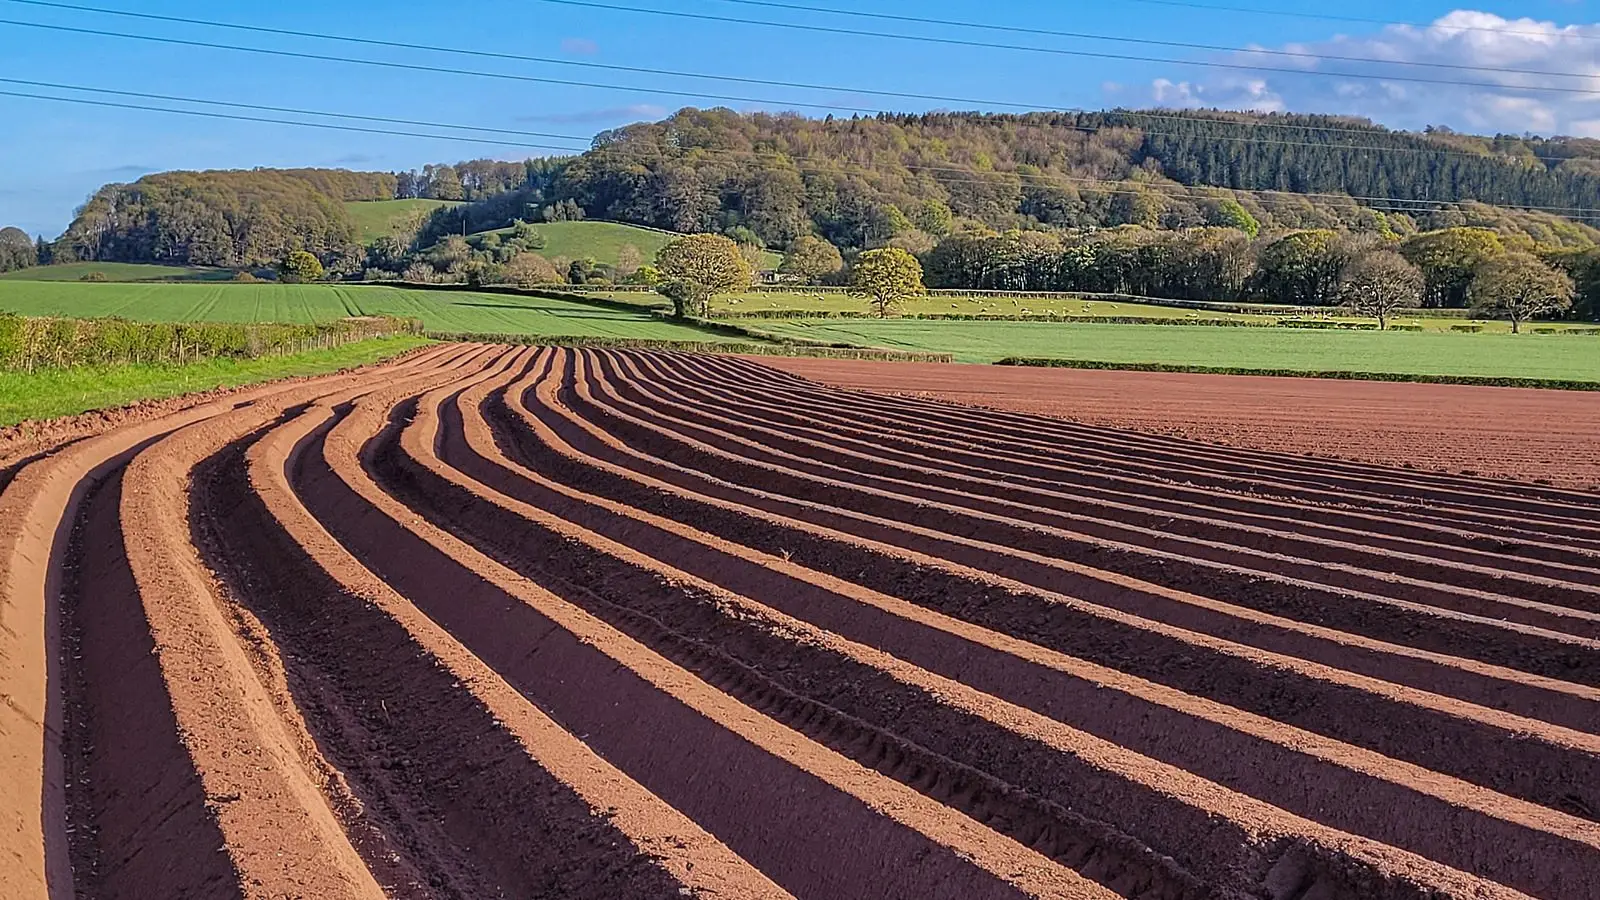

On this page
A potato is not a root. It is a swollen section of underground stem, and every decision in growing them follows from that single fact.
Tubers form on stolons that come off the buried stem — so the more stem you bury, the more places there are for potatoes to appear. That is why you plant them deep and then keep burying them.
Pick a variety group, not just a variety
The group tells you when it goes in, when it comes out, and how much space it needs.
| Group | Plant | Harvest | Spacing | Best for |
|---|---|---|---|---|
| First early | Early spring | ~10 weeks | 12 in | New potatoes, small plots, dodging blight |
| Second early | 2–3 weeks later | ~13 weeks | 14 in | Salad potatoes, a bridging crop |
| Maincrop | Mid spring | 18–20 weeks | 15–18 in | Bulk yield and winter storage |
If you have limited space, grow earlies. They occupy the ground for less than half the time, they are usually out before late blight arrives, and new potatoes are the ones most worth growing yourself. Maincrop is for storage, and storage potatoes are cheap to buy.
Chitting, and what a good chit looks like
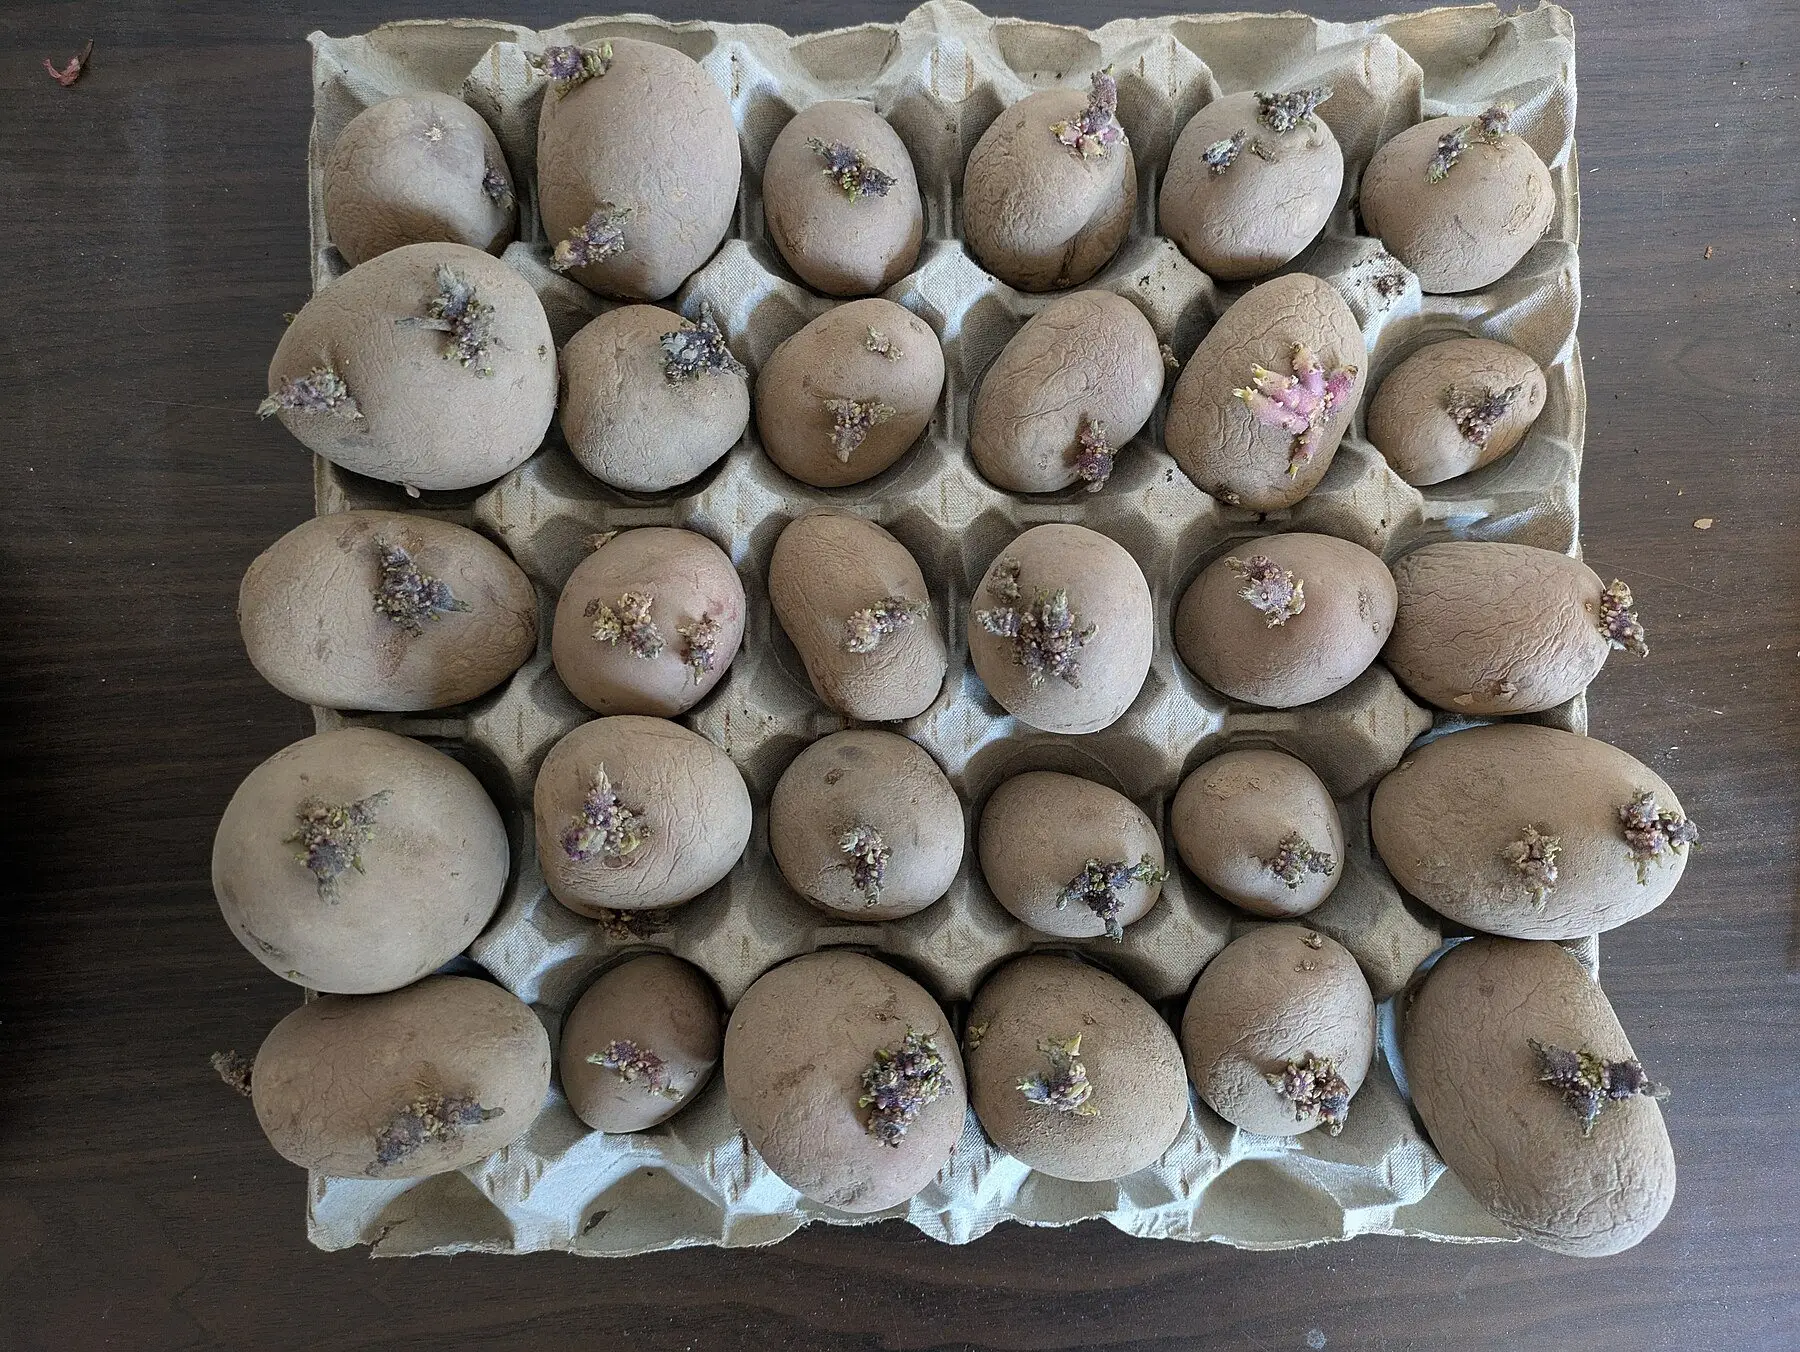
Stand the seed potatoes in egg boxes, the end with the most eyes upward, somewhere cool, bright and frost-free — around 50°F. Four to six weeks.
You want shoots that are short, stout, and dark green or purple, about half an inch to an inch. Long white shoots mean too warm and too dark; they are fragile and snap off as you plant.
Rub off the extras for bigger potatoes
Each shoot becomes a stem, and stems compete. Leaving three or four of the strongest shoots and rubbing off the rest gives fewer but larger tubers. Leaving all of them gives a larger number of smaller ones. Neither is wrong — decide which you actually want to eat.
Planting
Dig a trench about 5 inches deep, or make individual holes. Compost or well-rotted manure in the bottom is worth it — potatoes are hungry, and they cope well with soil richer than most crops want.
Set the tubers shoots upward at the spacing above, cover, and leave them. Nothing will appear for two to three weeks.
Potatoes prefer slightly acidic soil, roughly pH 5.0 to 6.0. This is the one crop where you should not lime the bed: alkaline soil is what encourages common scab, the corky brown patches on the skin. If your soil runs alkaline, see lowering soil pH.
Earthing up: the step people skip
When the shoots are about 8 inches high, draw soil up around them from either side, leaving only the top few inches of leaf showing. Do it again two or three weeks later.
Three things happen at once:
- More buried stem means more stolons and more tubers.
- Tubers stay dark. Any potato that reaches the light turns green and produces solanine, which is bitter and genuinely toxic. Green potatoes get thrown away, not peeled.
- Frost protection for emerging shoots in a late cold snap.
Never eat a green potato
The green is chlorophyll, which is harmless — but it forms alongside solanine, which is not. Solanine is not destroyed by cooking, and it tastes bitter well before the dose becomes dangerous. If a potato is green under the skin or tastes bitter, discard it rather than trimming it.
Water is the yield
Potatoes are shallow-rooted and thirsty, but the timing of the water matters more than the total.
Before flowering, moderate watering is fine. From flowering onward the tubers are bulking, and this is when a deep soak once or twice a week directly translates into crop weight. A dry spell here costs yield permanently.
Inconsistency is worse than moderate drought. A hard drought followed by heavy water produces hollow centres, growth cracks, and knobbly secondary tubers growing out of the first ones — the same failure mode as splitting tomatoes, for the same reason.
Growing in bags and containers
A potato bag works well and dodges the soil-borne disease problem entirely.
Use the largest container you can — 10 to 15 gallons — and put three or four seed potatoes in one of that size. Start with about 4 inches of compost, plant, then top up with more compost as the shoots grow rather than filling the bag at the start. That is earthing up by another name, and it is the whole reason bag-grown potatoes work.
Containers dry out fast and hold limited nutrition, so water daily in hot weather and feed once flowering starts. See growing in pots for the general watering rules.
Blight, and what to do about it
Late blight arrives in warm, humid weather, usually mid to late summer. Brown patches on leaves with a pale halo, spreading within days, sometimes with white mould on the undersides.
There is no cure once it starts. Cut all the foliage off at ground level immediately and remove it from the plot — do not compost it. Then leave the tubers underground for two to three weeks before lifting, so the spores on the soil surface die before your potatoes come up through them.
The structural answers are earlier varieties that finish before blight season, resistant maincrop varieties, and generous spacing so foliage dries quickly.
Lifting and storing
Earlies: dig as you want them, from about 10 weeks or when flowers open. They do not store; that is the point of them.
Maincrop: wait for the foliage to yellow and collapse. Cut the tops off, leave two weeks for the skins to set, then lift on a dry day. A potato you can rub the skin off with your thumb is not ready to store.
Dry them for a few hours, discard anything damaged or blemished, and store in paper or hessian sacks somewhere dark, cool and frost-free. One rotting tuber will take the sack with it, so check occasionally. When to harvest potatoes covers the timing signals in more detail.
Step by step
- Time
- P120D
- Cost
- $20
- You need
- Certified seed potatoes, Compost or well-rotted manure, Mulch or extra soil for earthing up
- Tools
- Spade or trowel, Egg boxes or a tray for chitting, Watering can or hose
Buy certified seed potatoes, not supermarket ones
Certified seed is grown under inspection to be free of the viruses and blight that build up in the crop. Supermarket potatoes are often sprout-inhibited, are of unknown health status, and can introduce disease that stays in your soil for years.
Chit them for four to six weeks
Stand the tubers in egg boxes with the end carrying the most eyes upward, somewhere cool, frost-free and bright. Aim for stubby, dark green shoots about half an inch to an inch long. Long pale shoots mean it was too warm and too dark, and they snap off during planting.
Plant when the soil has warmed and frost risk is passing
First earlies go in first, then second earlies, then maincrop, typically over four to six weeks in spring. Soil around 45°F upward is enough. Potatoes emerging into a frost get blackened, so plant so that emergence falls after your last expected frost, or be ready to cover.
Plant deep, in a trench, eyes upward
Set the tubers about 5 inches deep with the shoots pointing up. Space first earlies about 12 inches apart, maincrop 15 to 18 inches, with 2 to 2.5 feet between rows. Maincrop needs the extra room because it grows longer and yields more.
Earth up as the shoots grow
When the stems are about 8 inches tall, draw soil up around them to leave only the top few inches showing. Repeat once or twice more. This is not optional tidying — tubers form on the buried stem, so earthing up creates the space they grow into, and it keeps them dark.
Water heavily once tubers start forming
The critical window begins at flowering, when tubers are bulking. A deep soak once or twice a week from that point matters far more than watering early on. Erratic water at this stage causes hollow heart, growth cracks, and knobbly second-growth tubers.
Watch for blight in warm, humid weather
Brown patches on leaves with a pale margin, spreading fast, are late blight. Cut the foliage off at ground level immediately and remove it, then leave the tubers in the ground for two to three weeks before lifting so spores on the surface die off.
Harvest by variety group
Lift first earlies about 10 weeks after planting, once flowers open, taking them as needed. Lift maincrop once the foliage has yellowed and collapsed, then cut the tops and wait two weeks before digging so the skins set for storage.
Common questions
Do you need to chit potatoes before planting?
How deep should you plant potatoes?
Why do you earth up potatoes?
Can you grow potatoes from supermarket potatoes?
When are potatoes ready to harvest?
How many potatoes does one plant produce?
Backyard Weekly
Know what to plant, week by week
Free planting calendar. Join the weekly email for seasonal jobs, fixes for what is going wrong, and gear worth buying.
Set MONETIZATION.email.endpoint in src/config/site.ts to enable this form.
By subscribing you agree to our privacy policy. Grow In Backyard will never sell your address.
Keep reading
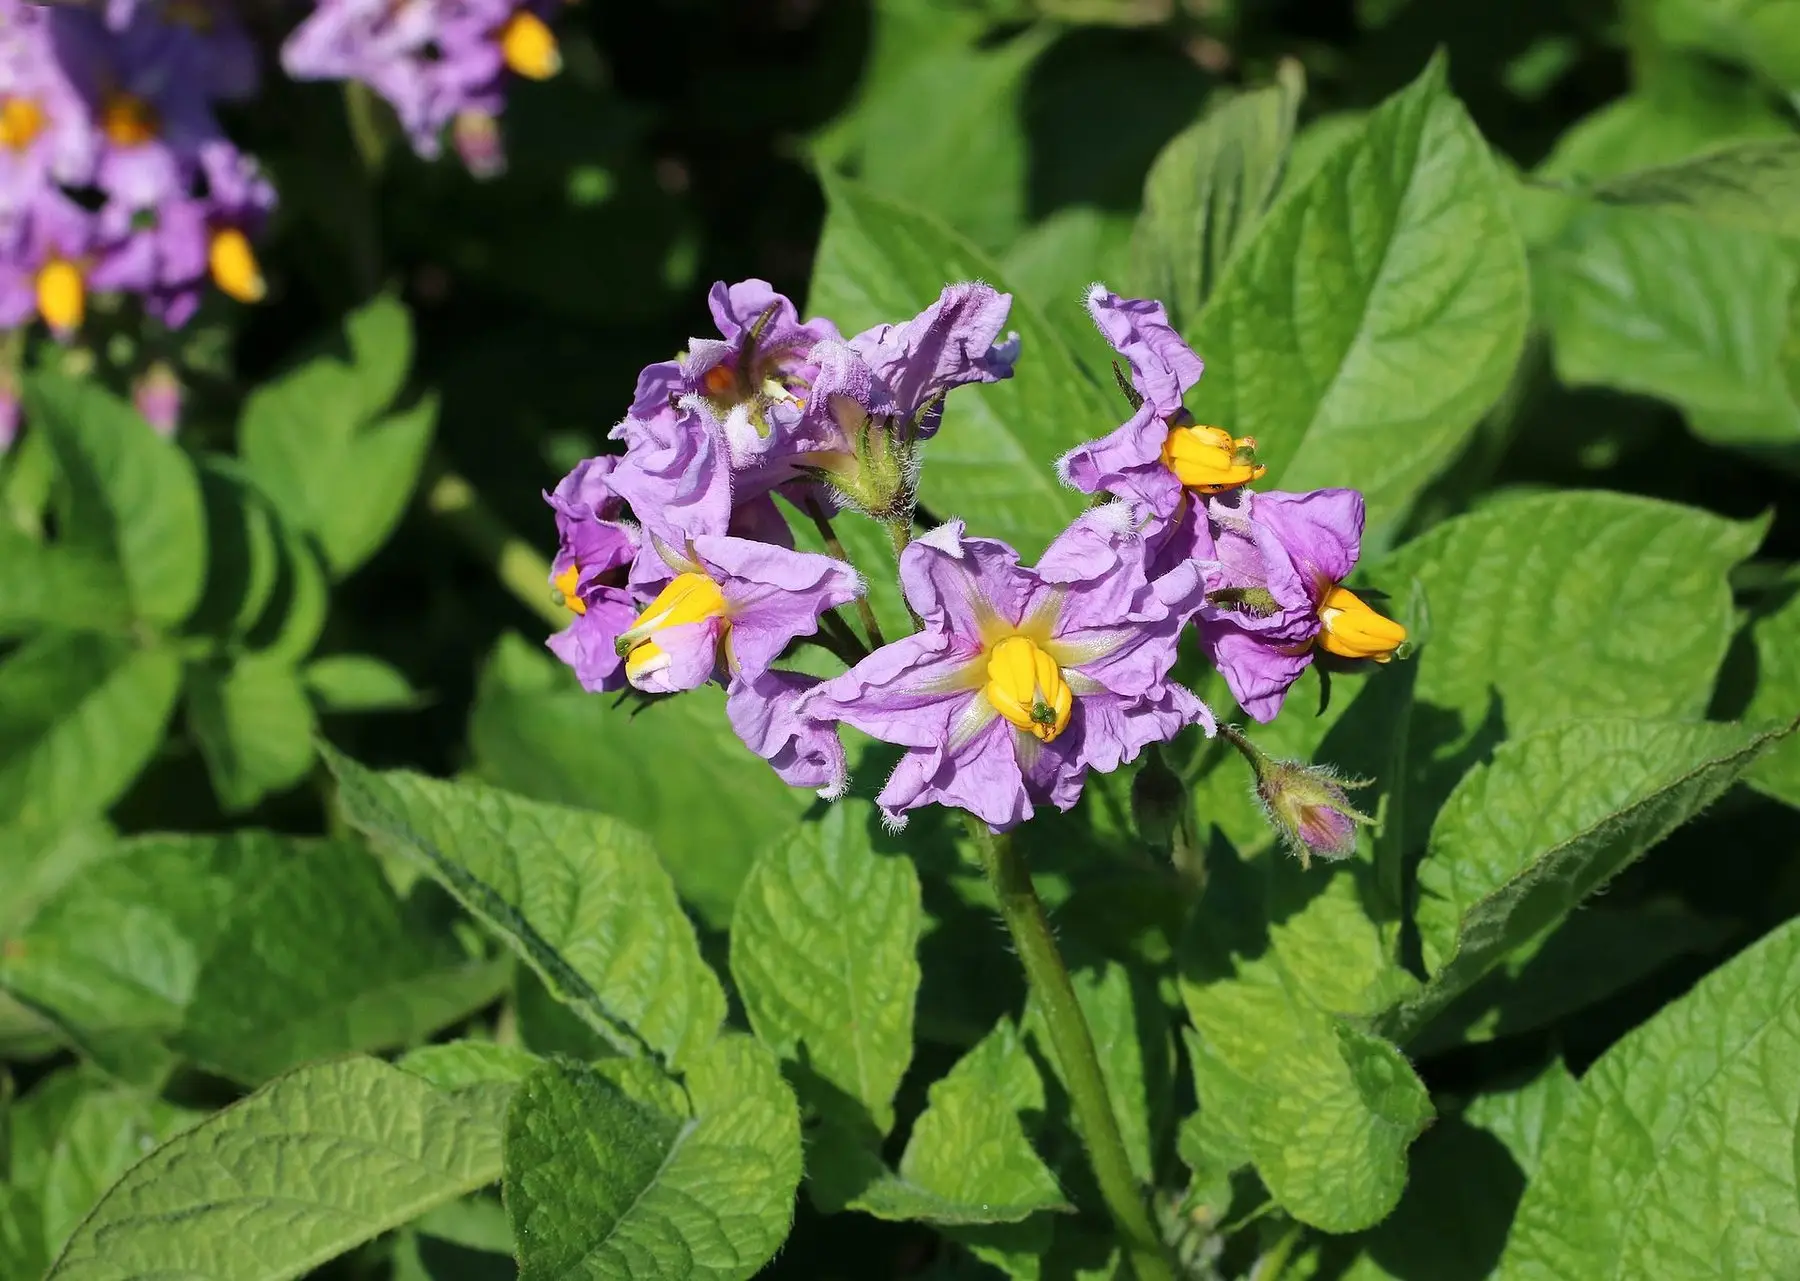
When to Harvest Potatoes: Two Crops From One Plant
New potatoes come at flowering; storage potatoes need the tops to die back first. How to tell which stage you are at, and how to cure them so they keep.
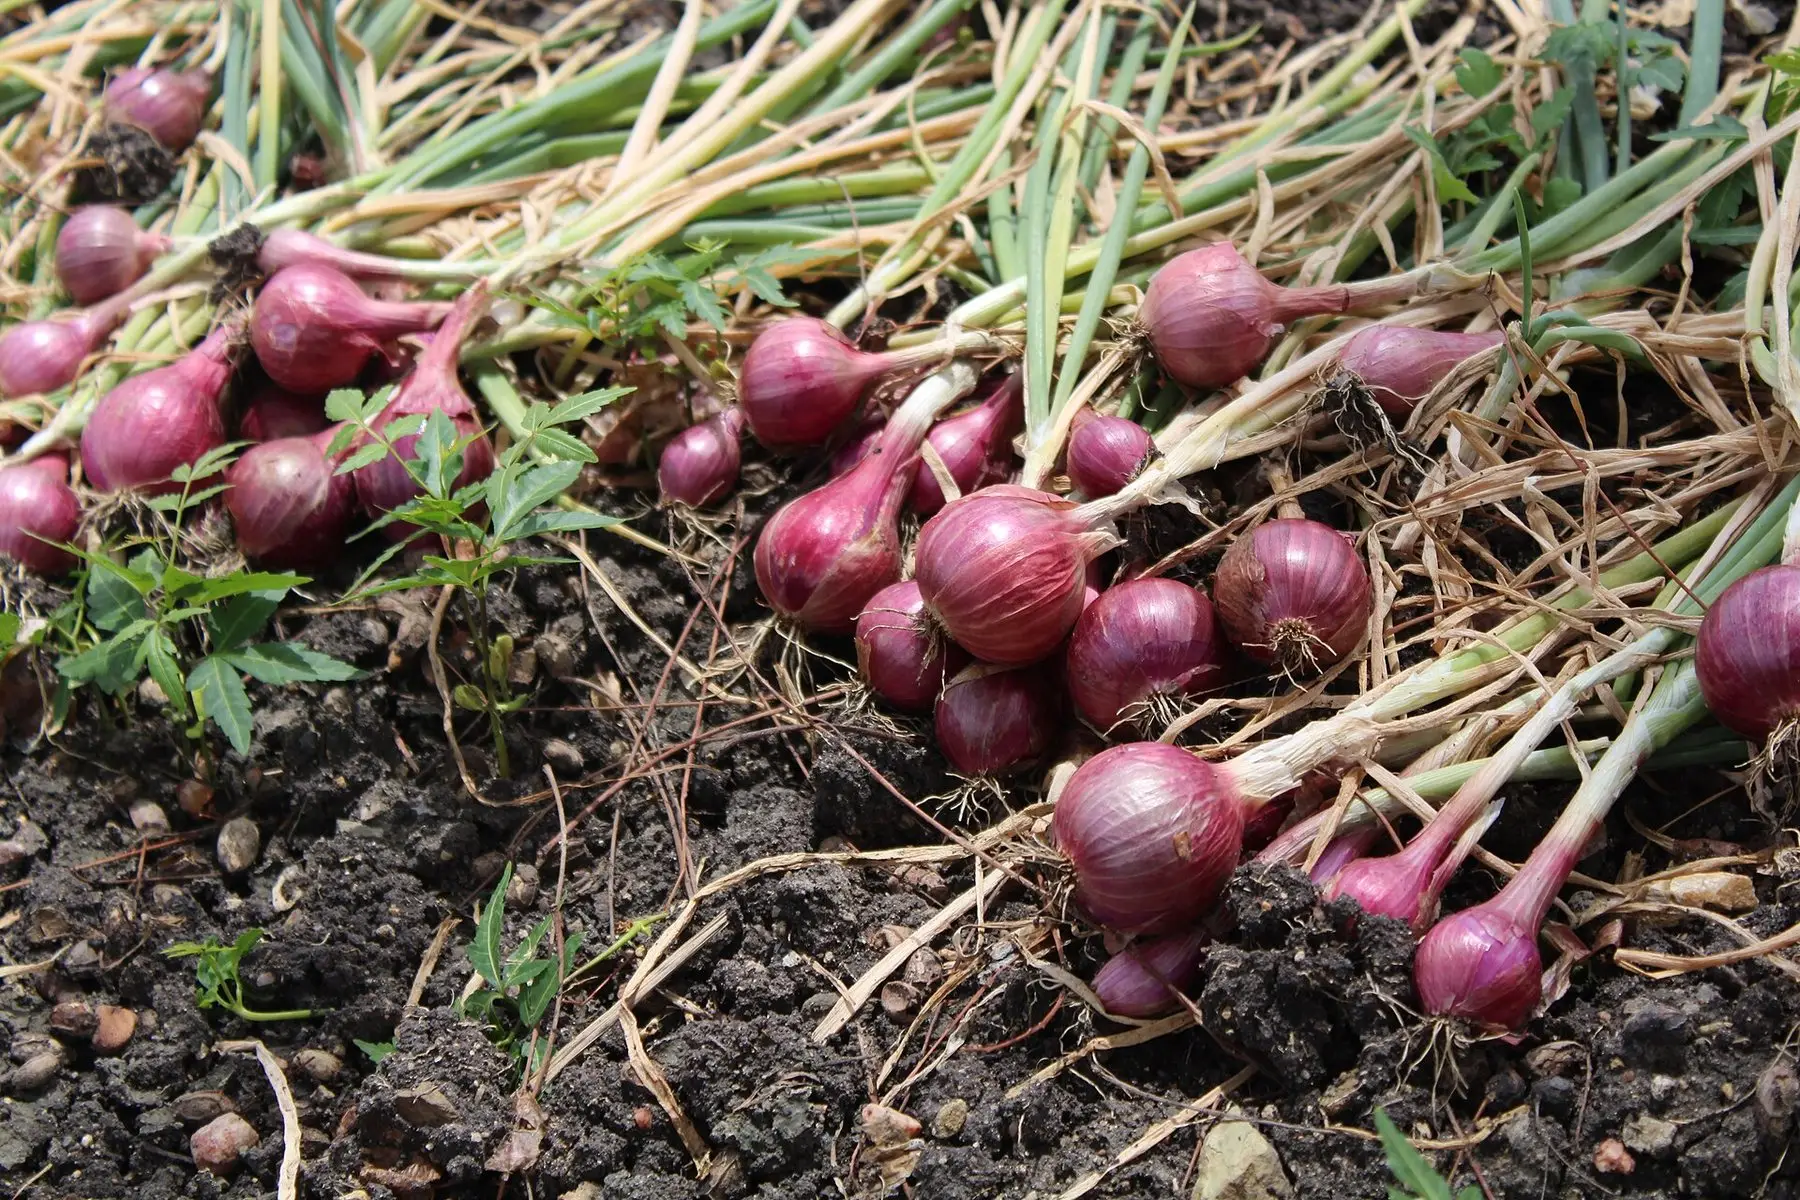
How to Grow Onions: Day Length Decides Your Bulb Size
Onions bulb on day length, not on age — so the wrong variety for your latitude never sizes up. How to pick the right type, plant it, and feed it to a full bulb.
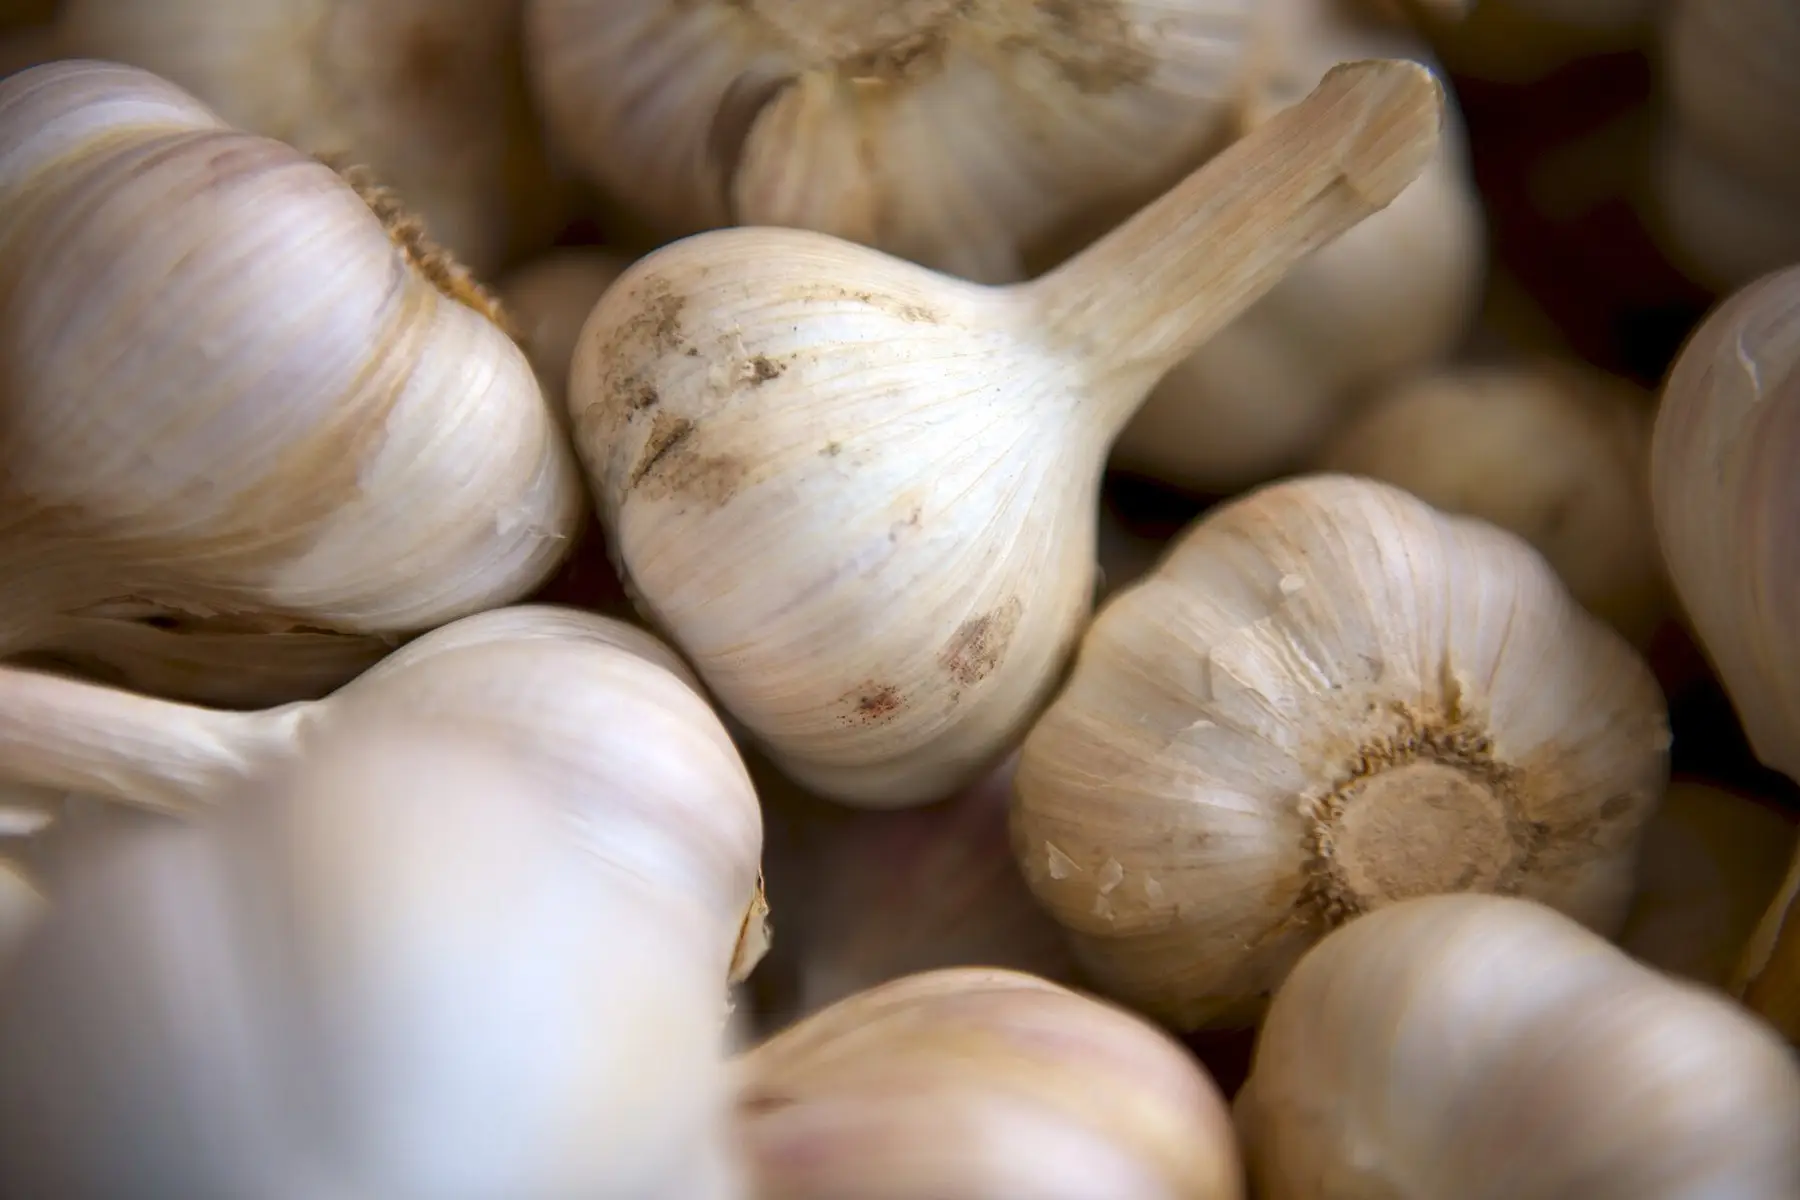
How to Grow Garlic: Plant in Fall, Harvest in July
Garlic is the easiest crop in the garden if you plant it at the right time. Here is the full cycle — choosing bulbs, planting depth, mulch, scapes, and harvest.
How Deep to Plant Potatoes (And Why Hilling Matters More)
Four inches at planting, then hill as they grow. Why planting deep in cold spring soil backfires, and how depth differs in containers and no-dig beds.